|
|

|
|
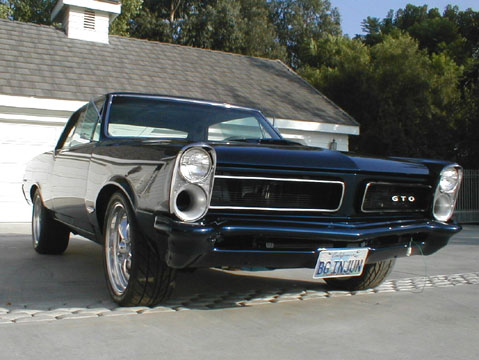
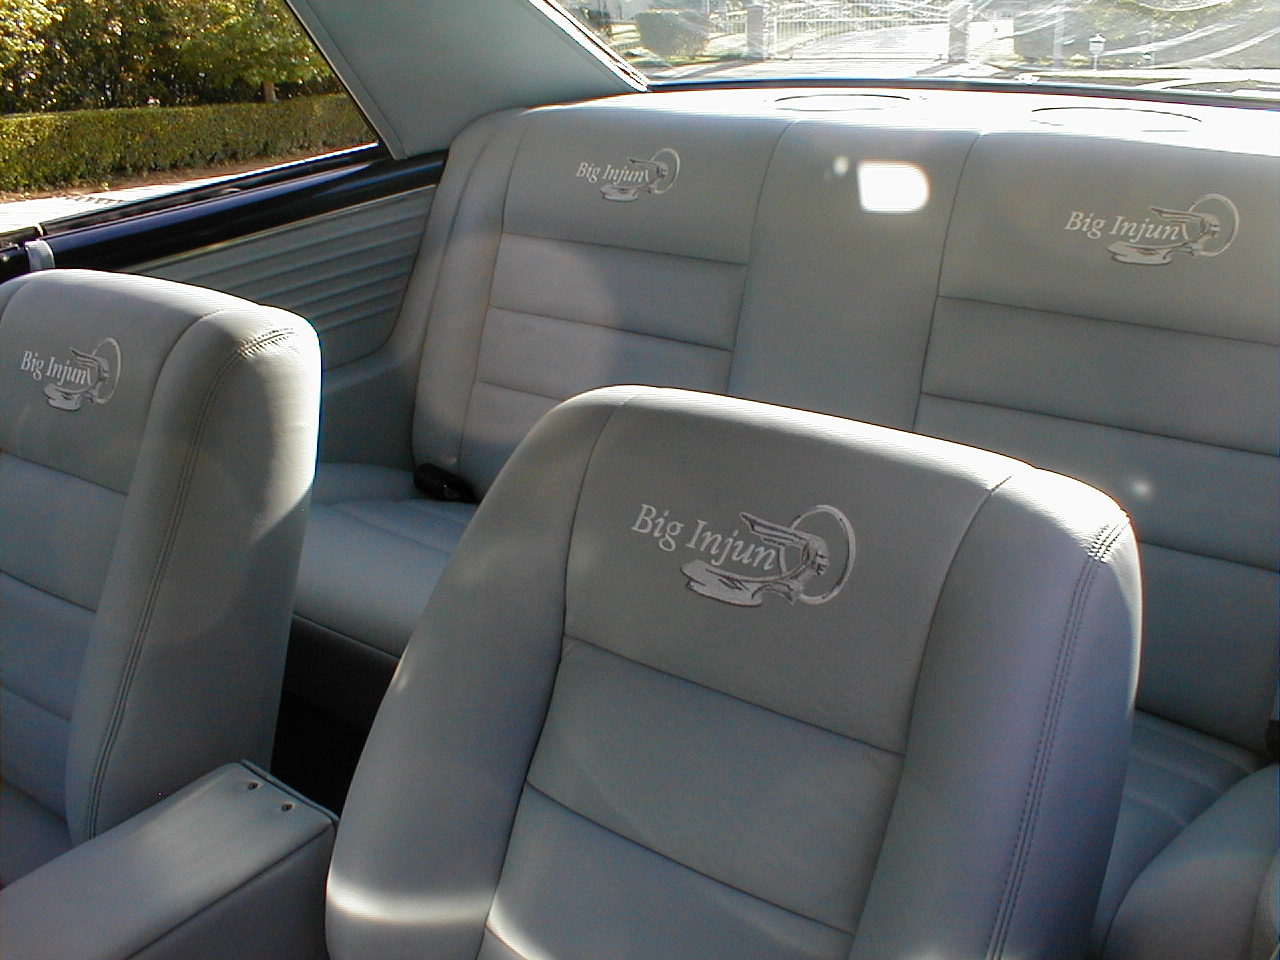
The logo was built from a picture I took of an early pontiac hood ornament |
|

|
|
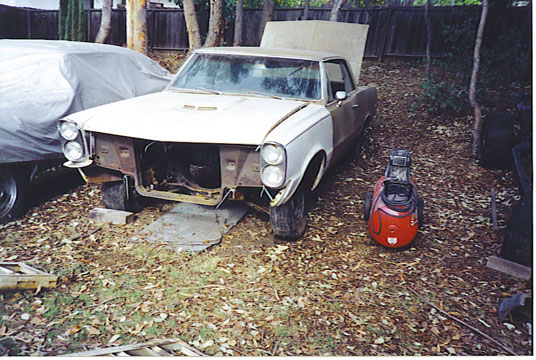
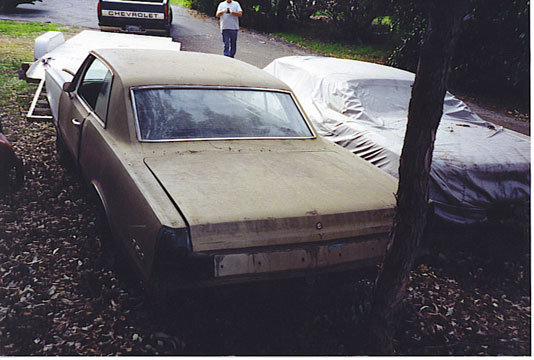
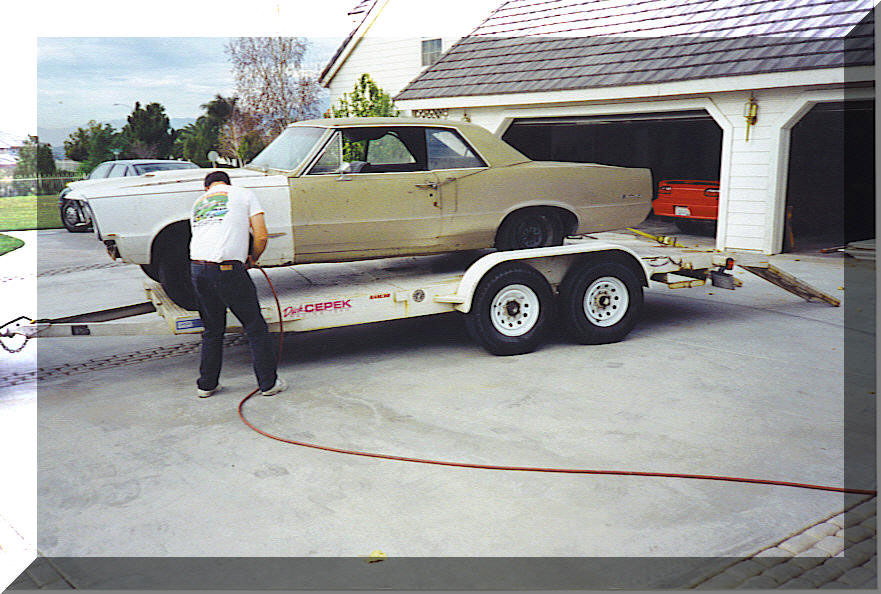
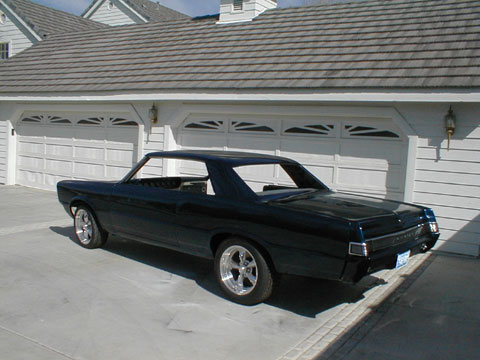
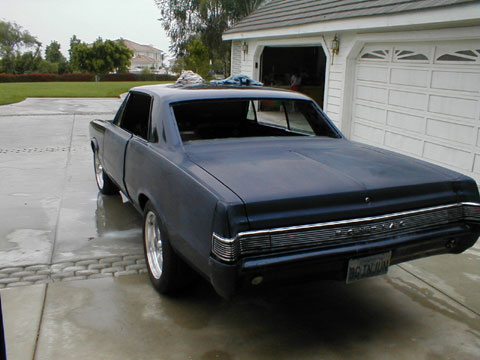
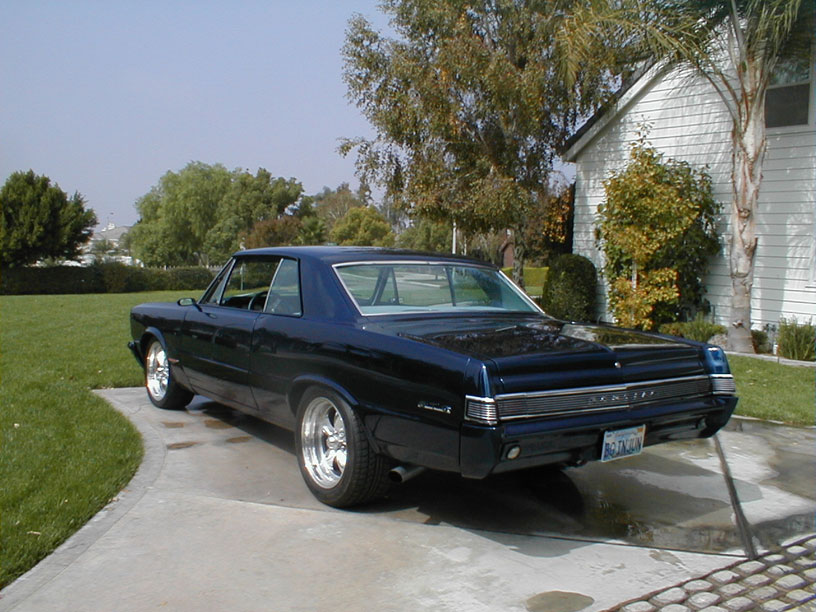
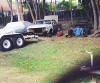
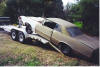
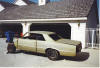
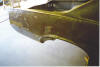
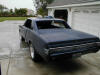
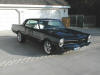
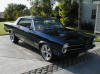
First look at the car. But for $500 how nice did you expect it to be? |
|
|
|
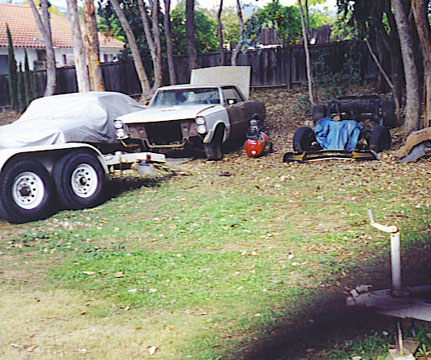
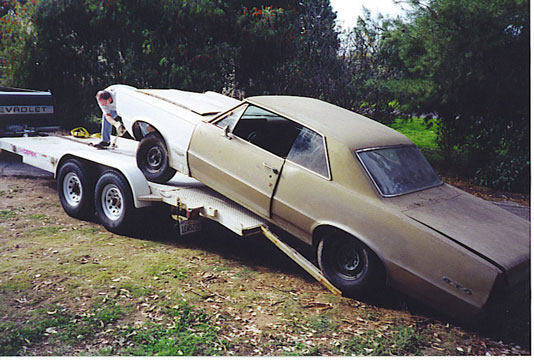
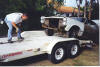
Deal made put it on the trailer |
|
|

|
|
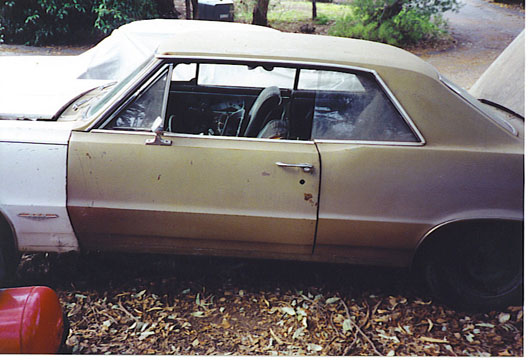
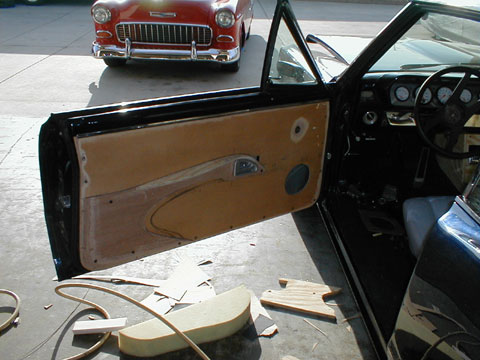
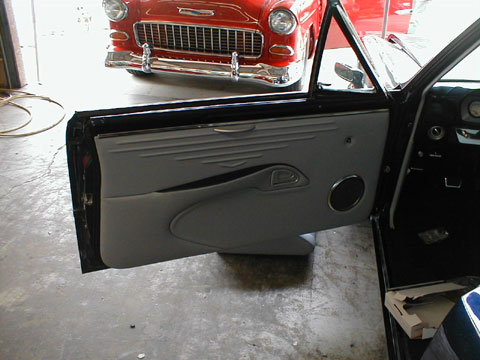
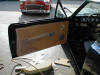
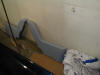
It looked pretty straight but I later learned this door was trash |
|
|
|
|
|
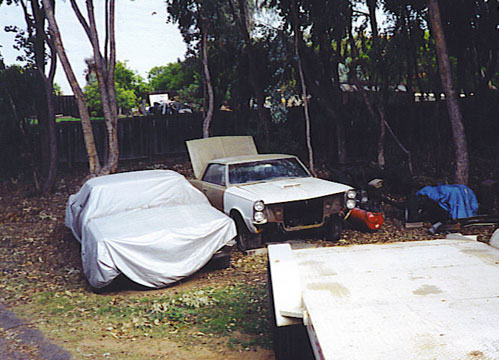
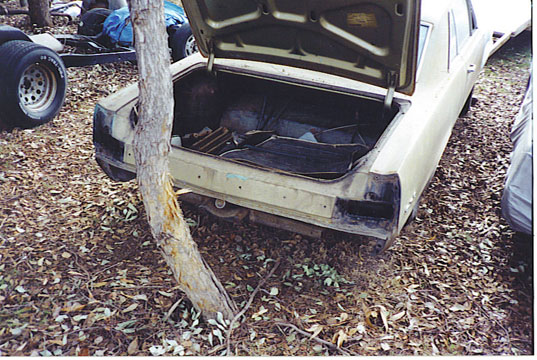
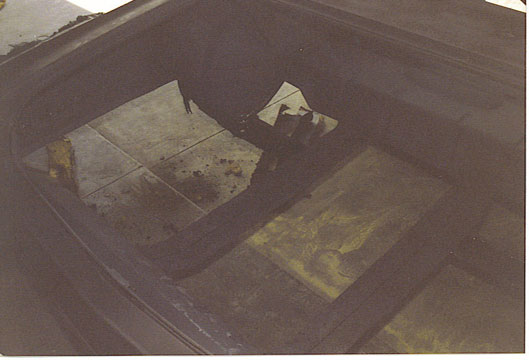
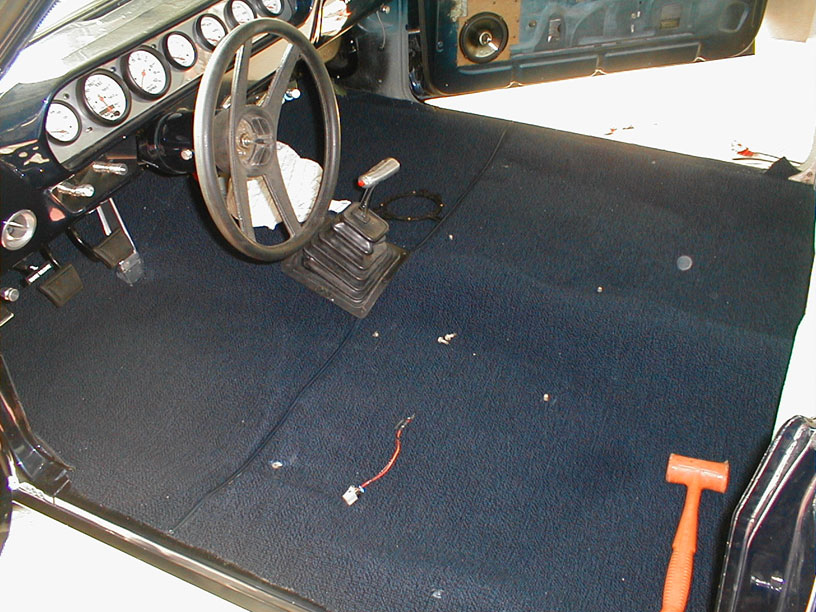
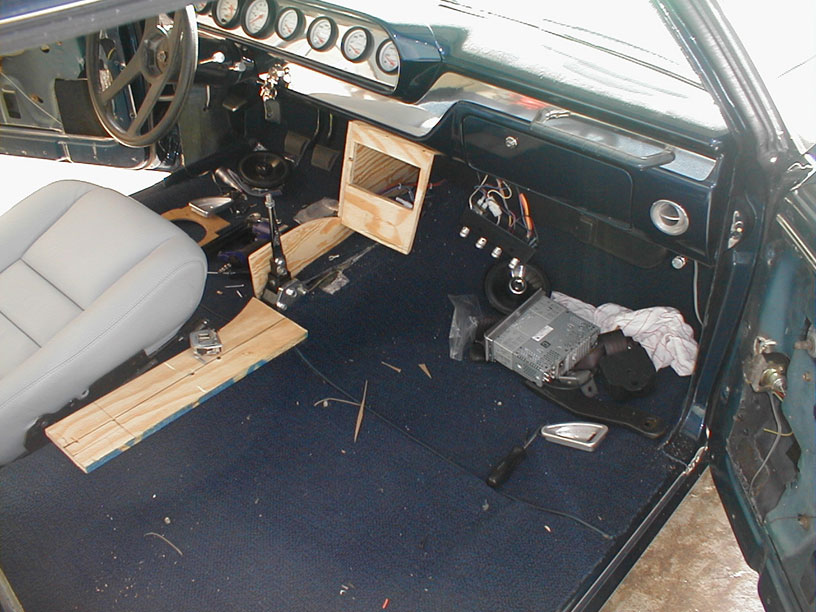
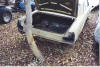
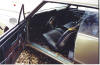
Many of the missing parts were either inside or in the trunk |
|
|
|
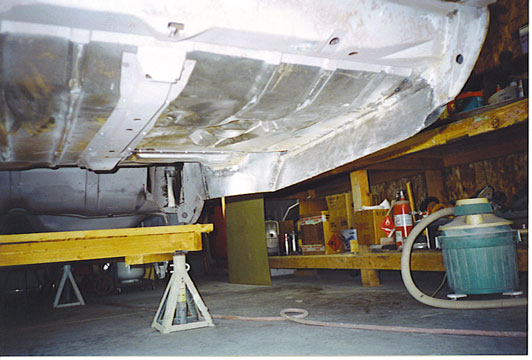
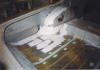
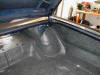
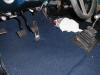
While somewhat nasty, the floors looked solid |
|

|
|
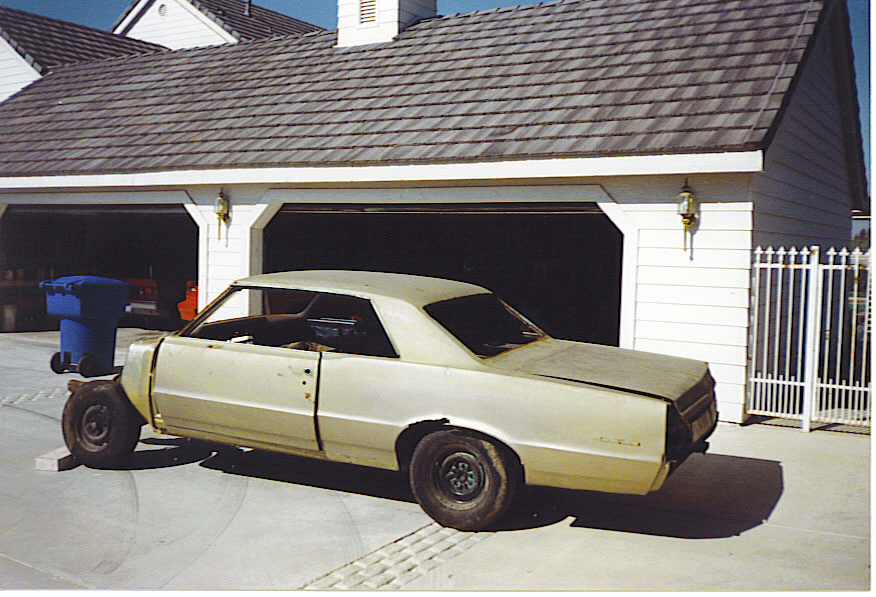
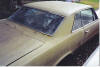
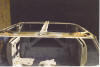
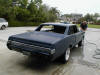
The car actually looked pretty straight |
|
|
|
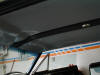
No major damage, just a little light rust around the back window |
|
|
|
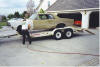
Onto the trailer |
|
|
|
|
|
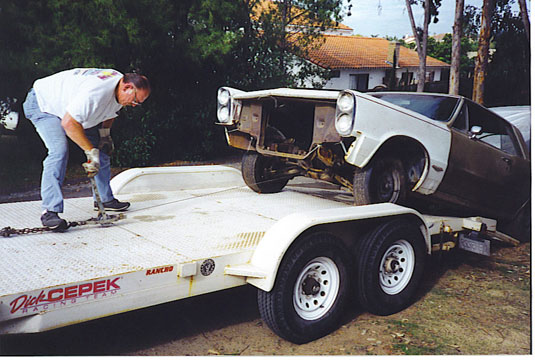
Freind Ron helps with the come along |
|
|
|
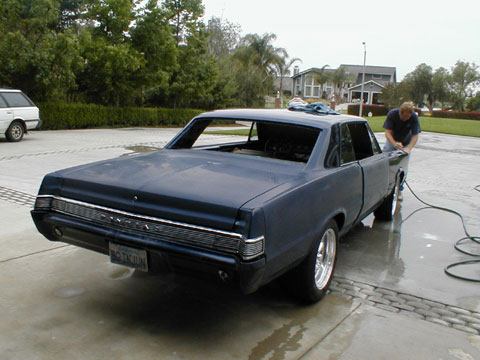
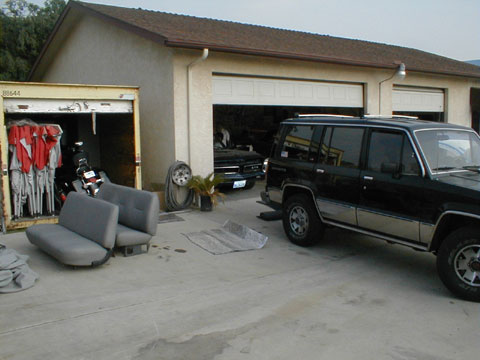
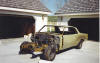
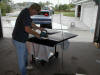
Home at last, first survey of purchase, only picture of me in the series |
|
|
|
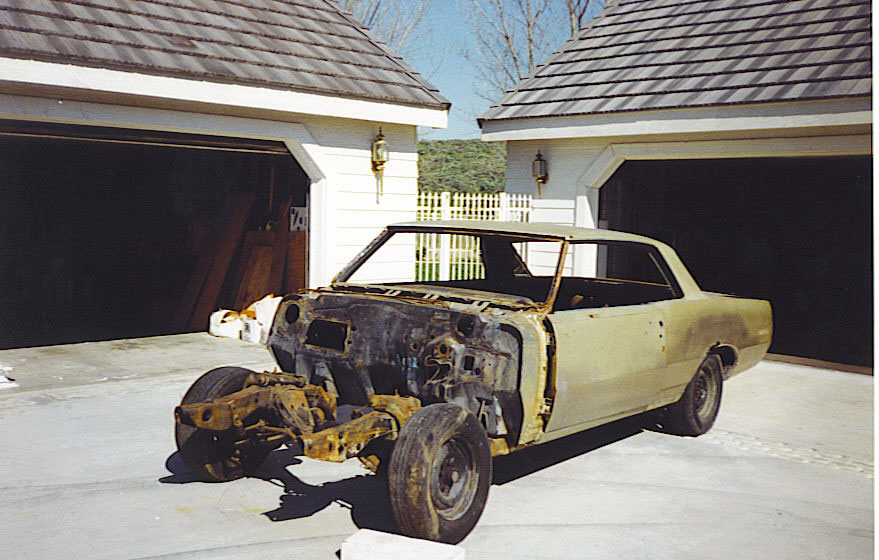
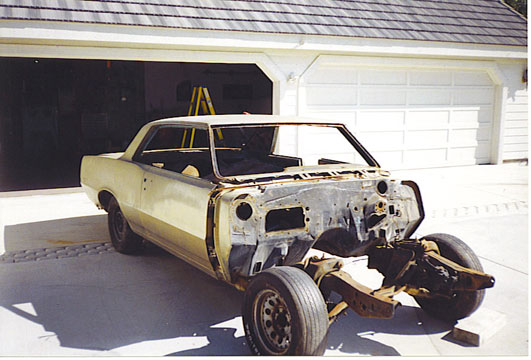
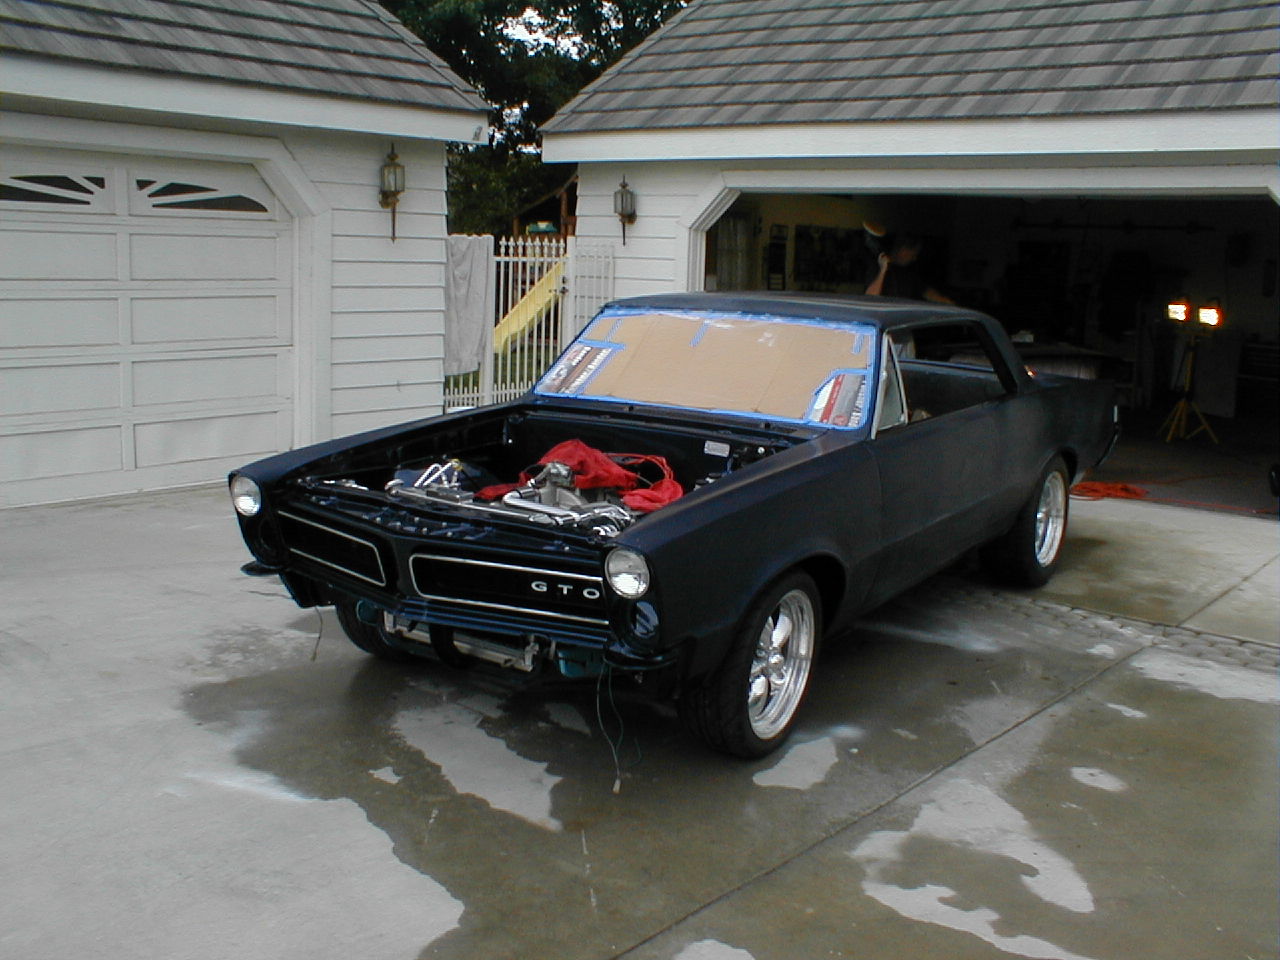
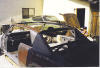
After a few hours of taking off front group, glass and interior |
|
|
|
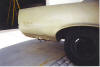
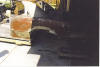
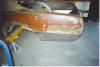
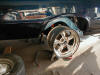
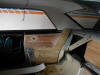
Painter notices something strange in rear qrt and pulls a beer can with bondo out of rear wheel well |
|

|
|
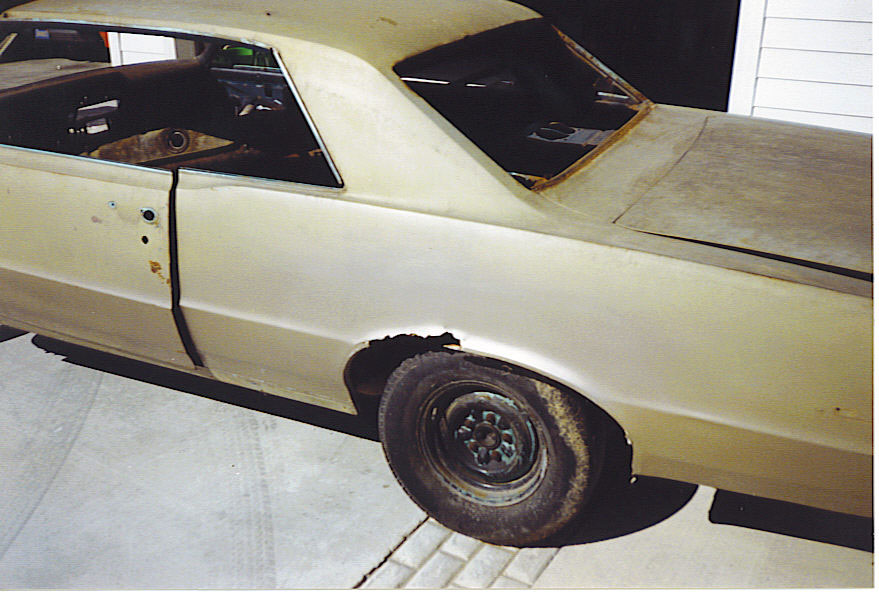
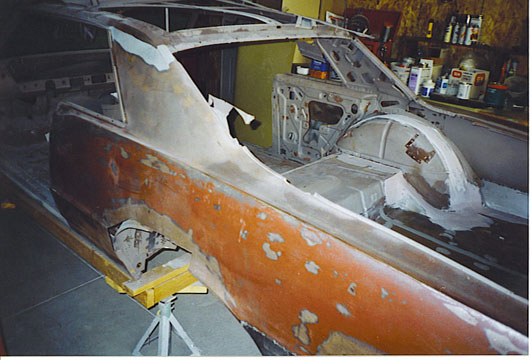
Closer look are rear qtr |
|
|
|
|
|
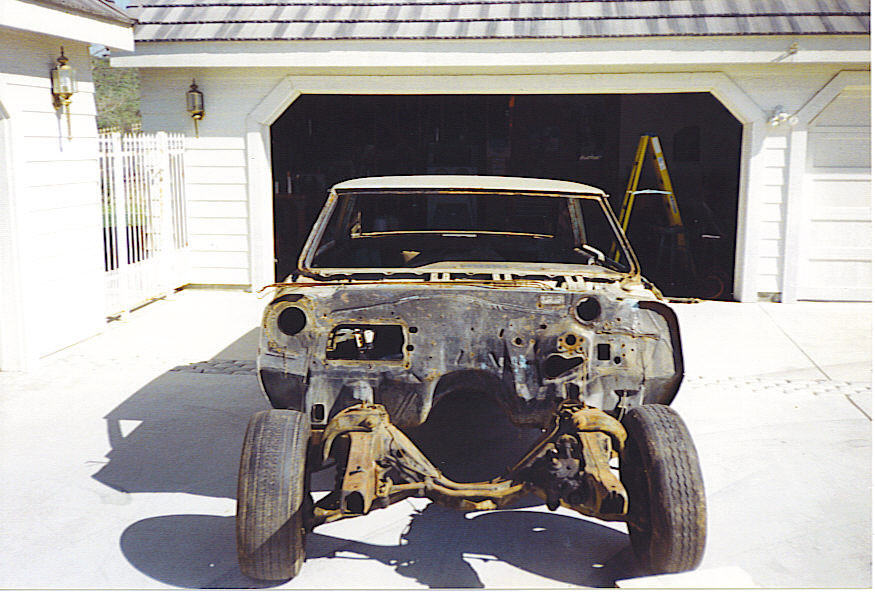
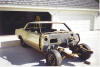
Car is ready for bead blaster |
|

|
|
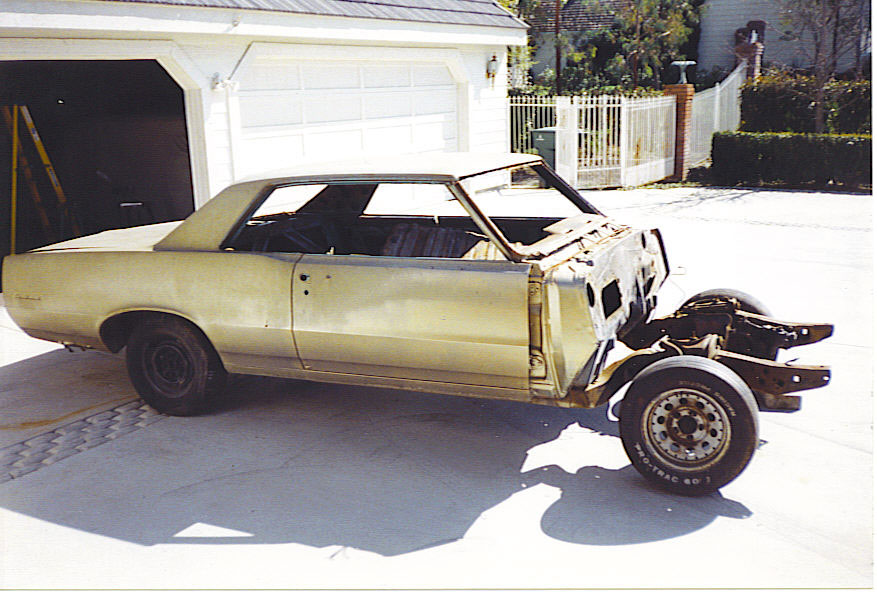
Still looks pretty straight |
|
|
|
|
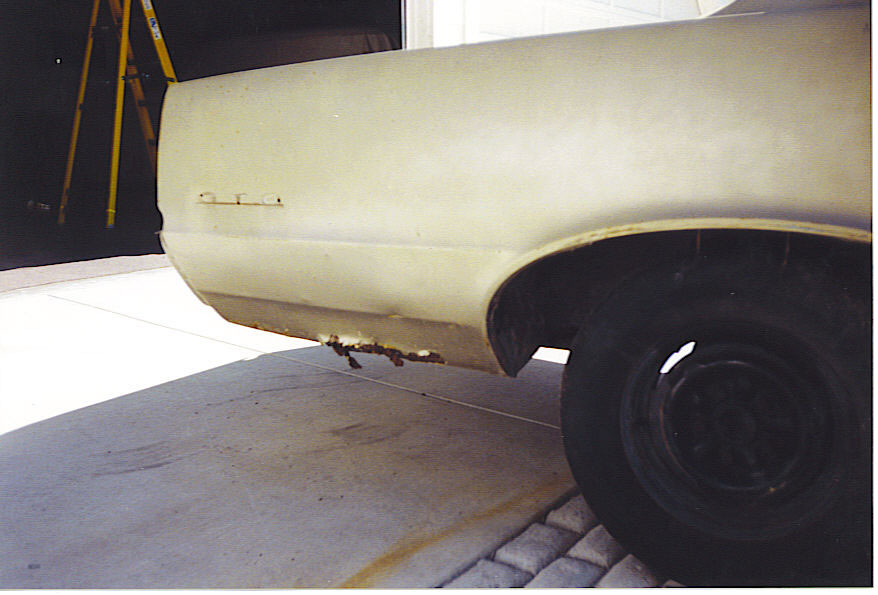
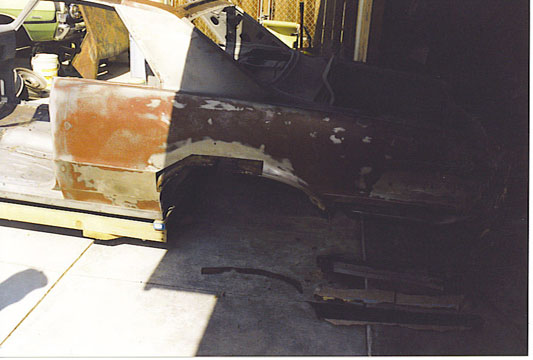
Bottom of both rear qtrs have some rust, but not bad |
|

|
|
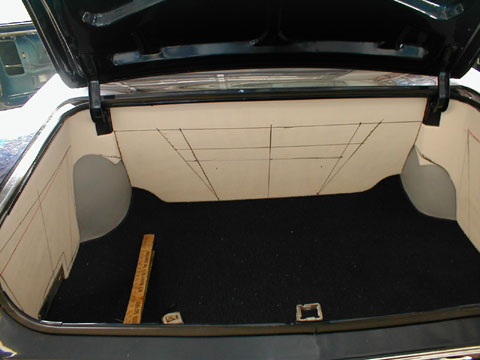
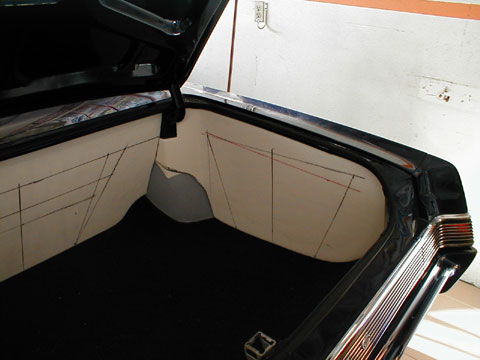
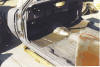
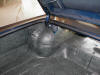
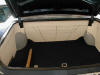
The trunk has some surface rust but looks solid |
|
|
|

|
|
Back from the blaster, the trunk was not as solid as I thought |
|
|
|
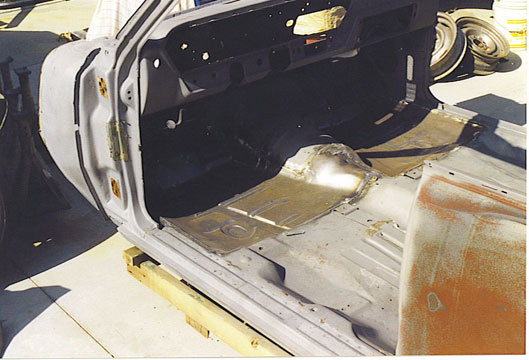
As it turns out neither was the front floor |
|
|
|
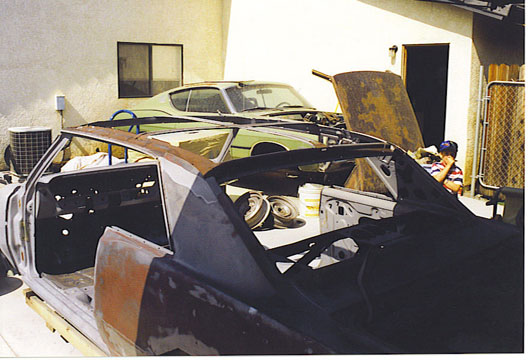
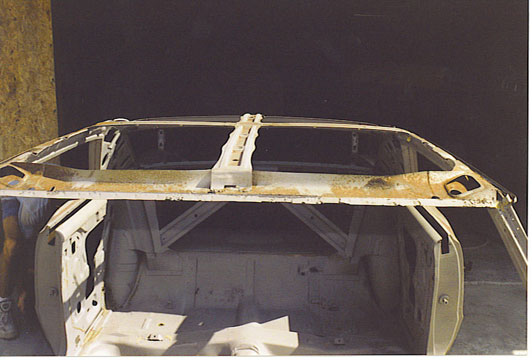
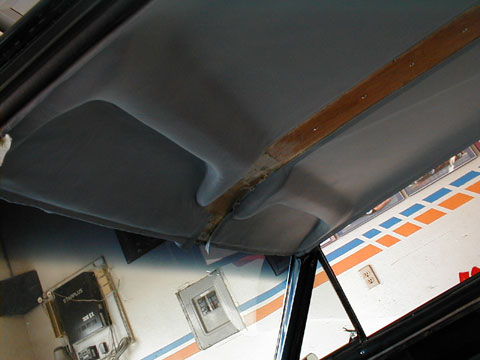
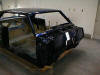
Well the minor rust around the window turned into a bigger problem, the whole top had to be replaced |
|
|
|
Without the top it looks like we really did take it to the scrap pile |
|
|
|
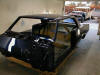
Looking from front to back the top is gone and you can see the bones |
|
|
|

|
|
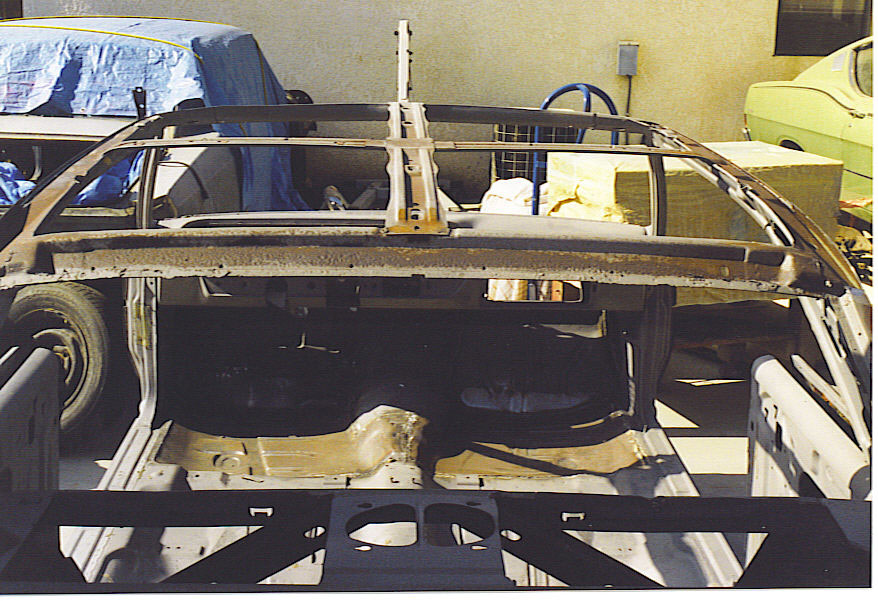
From back to front, you can see the new front floor |
|
|
|
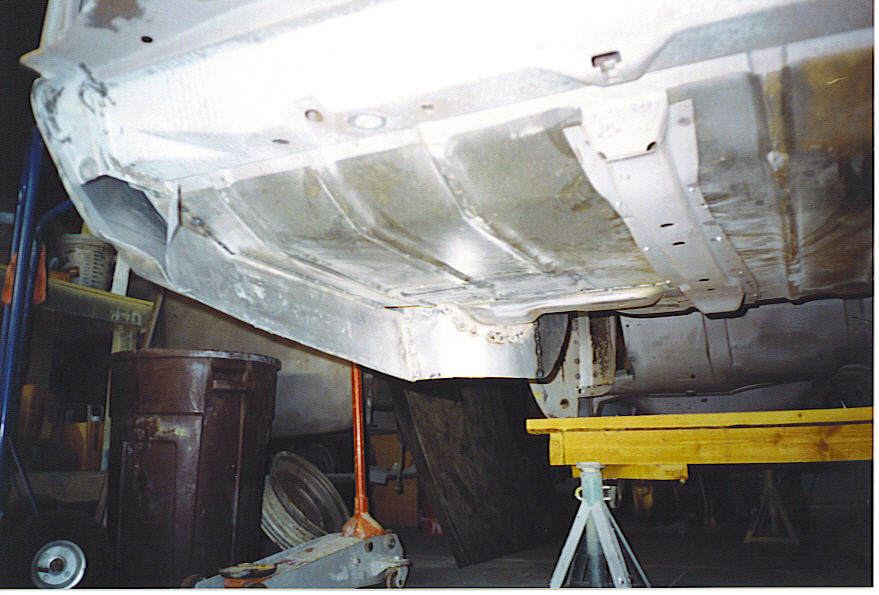
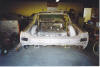
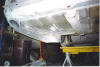
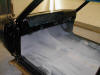
With the center piece behind the trunk lid removed, we widen in the wheel wells 1 1/2 in each, also see the new trunk floor |
|
|
|
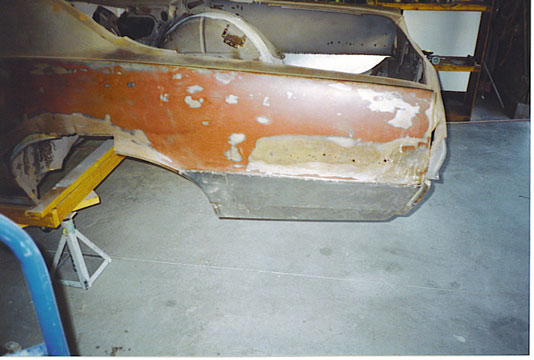
New bottom passenger rear qtr |
|
|
|
New driver rear lower qtr |
|
|
|
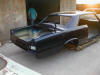
Almost looks like an El Camino with it open from the front of the trunk to the top |
|
|
|
|
|
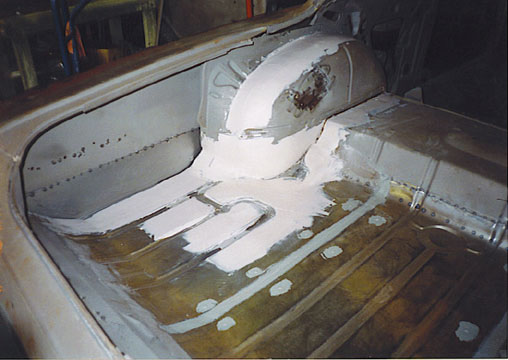
You can see the widen wheel wells from this angle |
|

|
|
Bottom of new trunk |
|
|
|
bottom of new trunk drivers side |
|
|
|
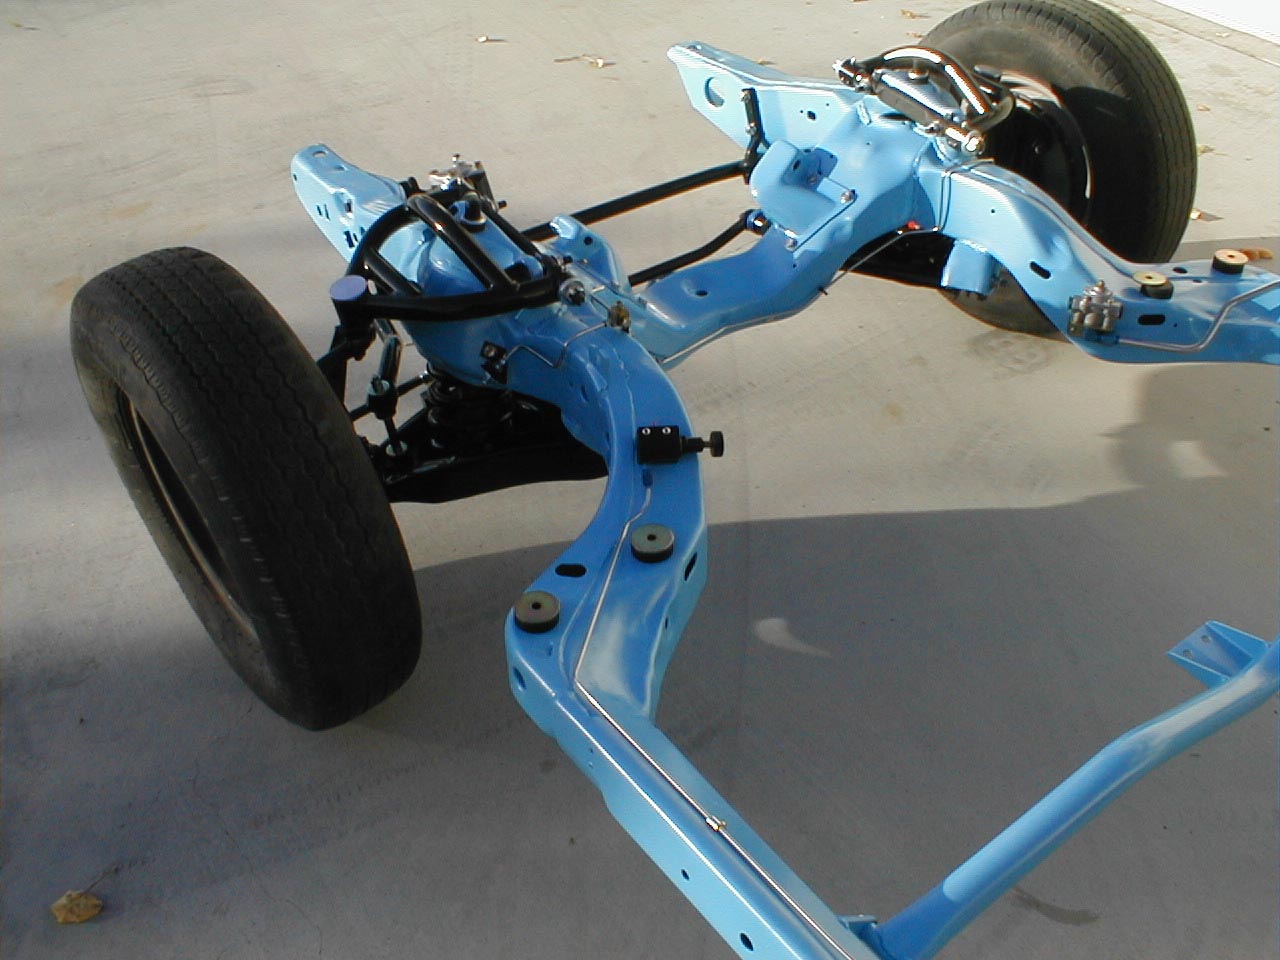
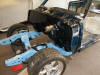
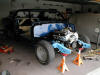
Starting on the frame |
|
|
|
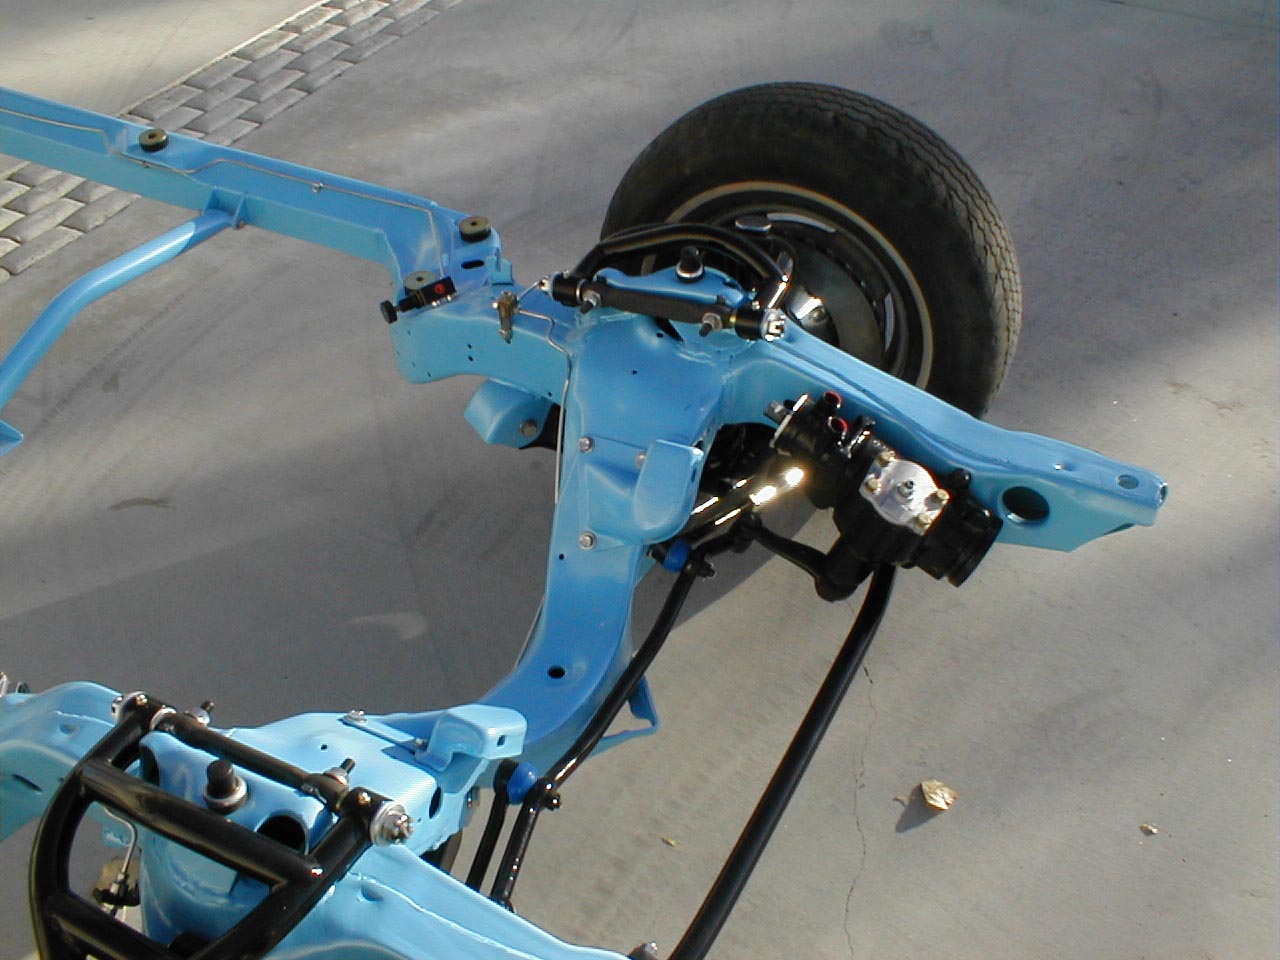
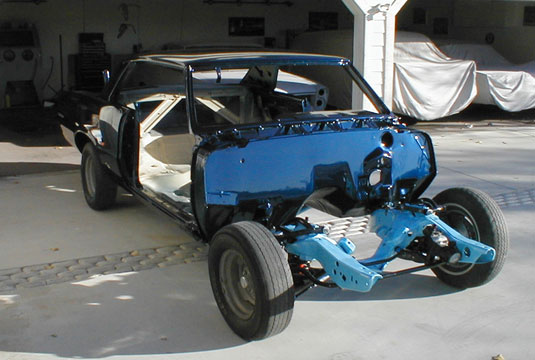
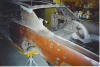
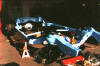
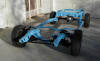
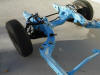
New Global West front and rear suspension with New Currie 9" rear end |
|
|
|
|
|
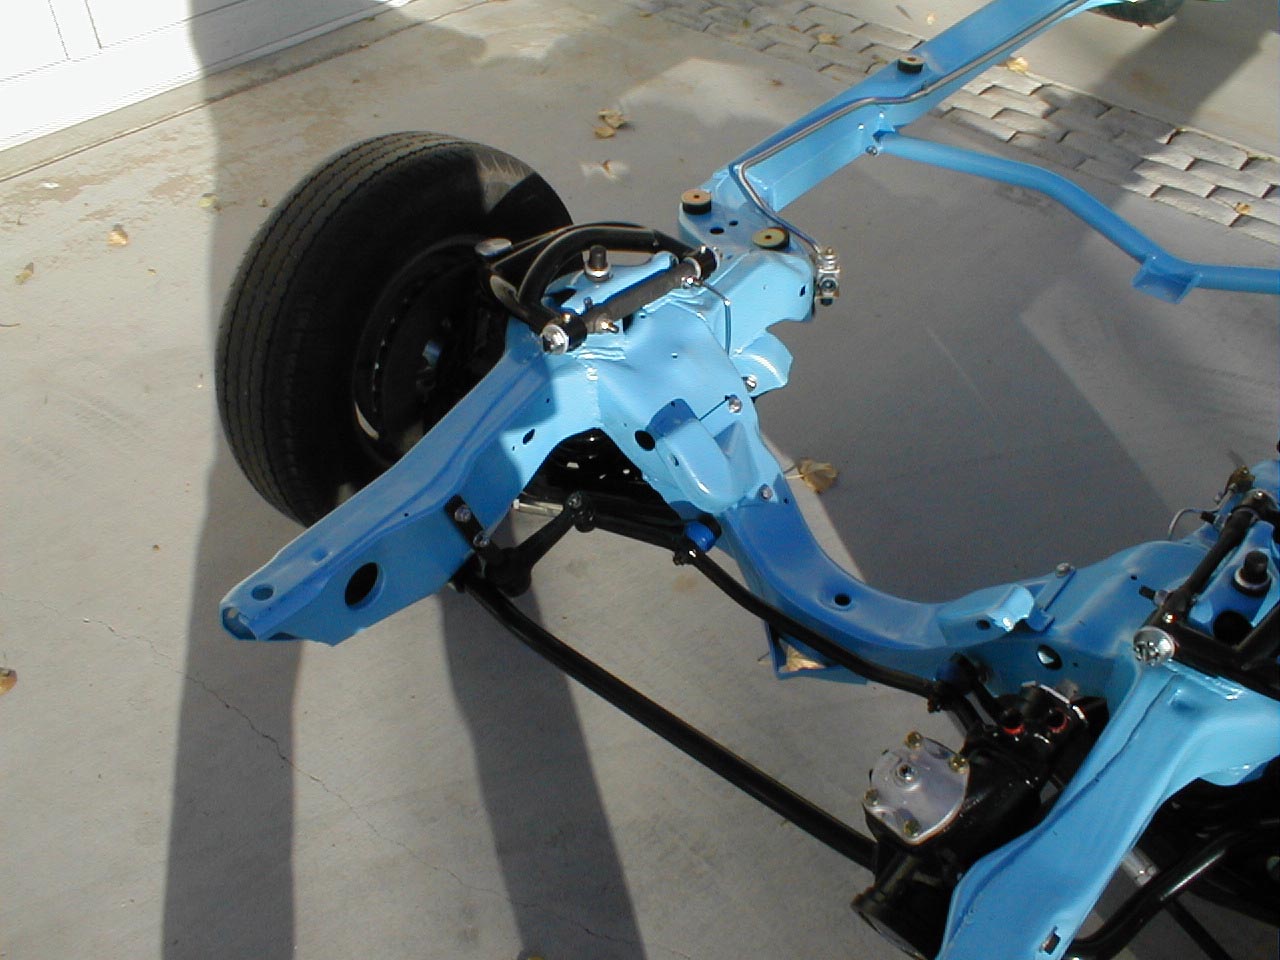
New 1 1/4 sway bar and AGR steering box and 13 in Wilwood in front, 10 in in rear |
|
|
|
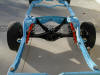
Proportioning value mounted on the frame to rear brake lines |
|
|
|
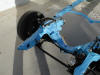
New hand bent stainless brake lines |
|
|
|
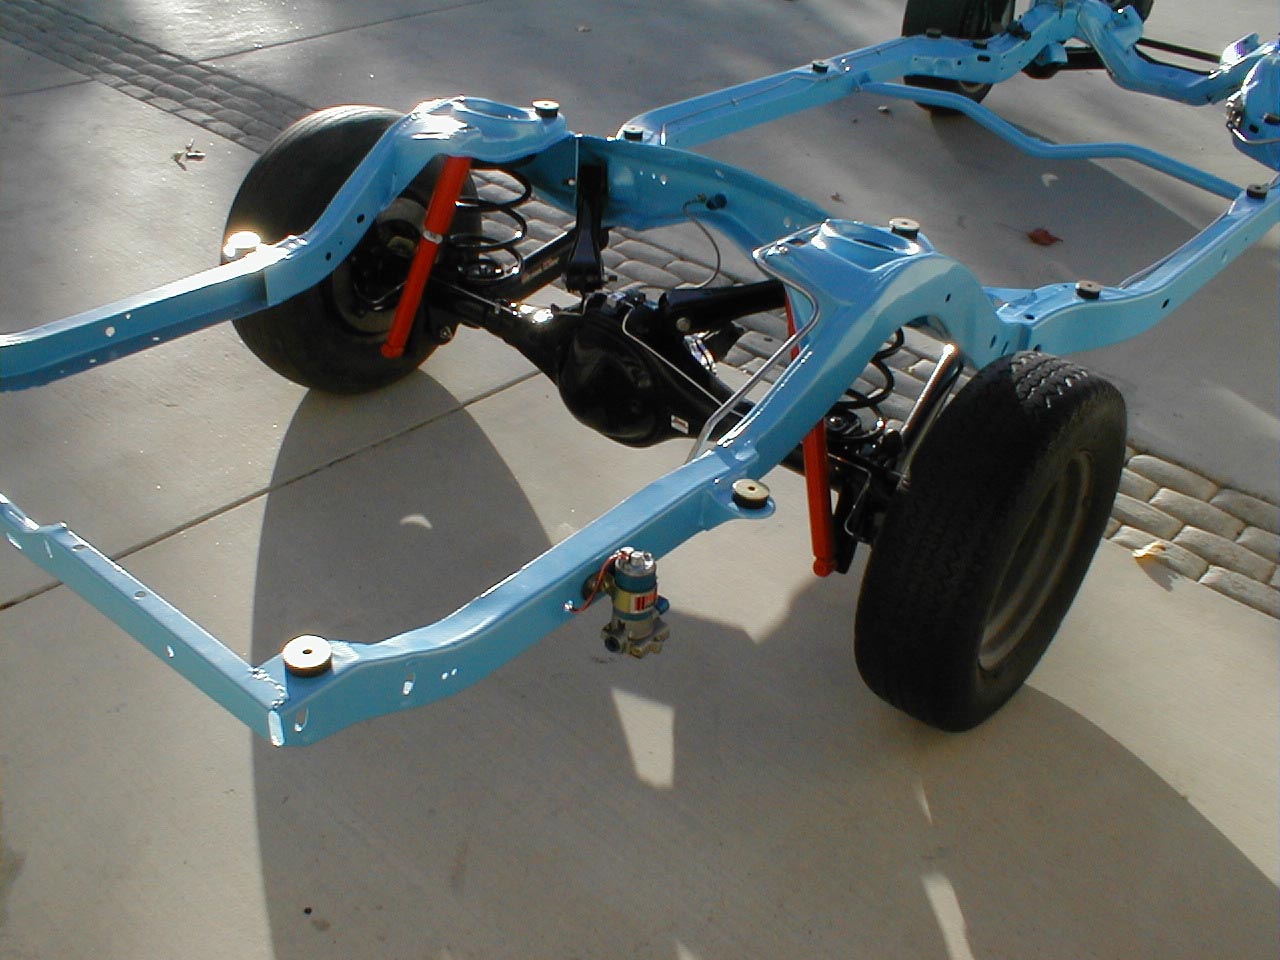
New Mallory electric fuel pump with 1/2 in stainless fuel lines |
|
|
|
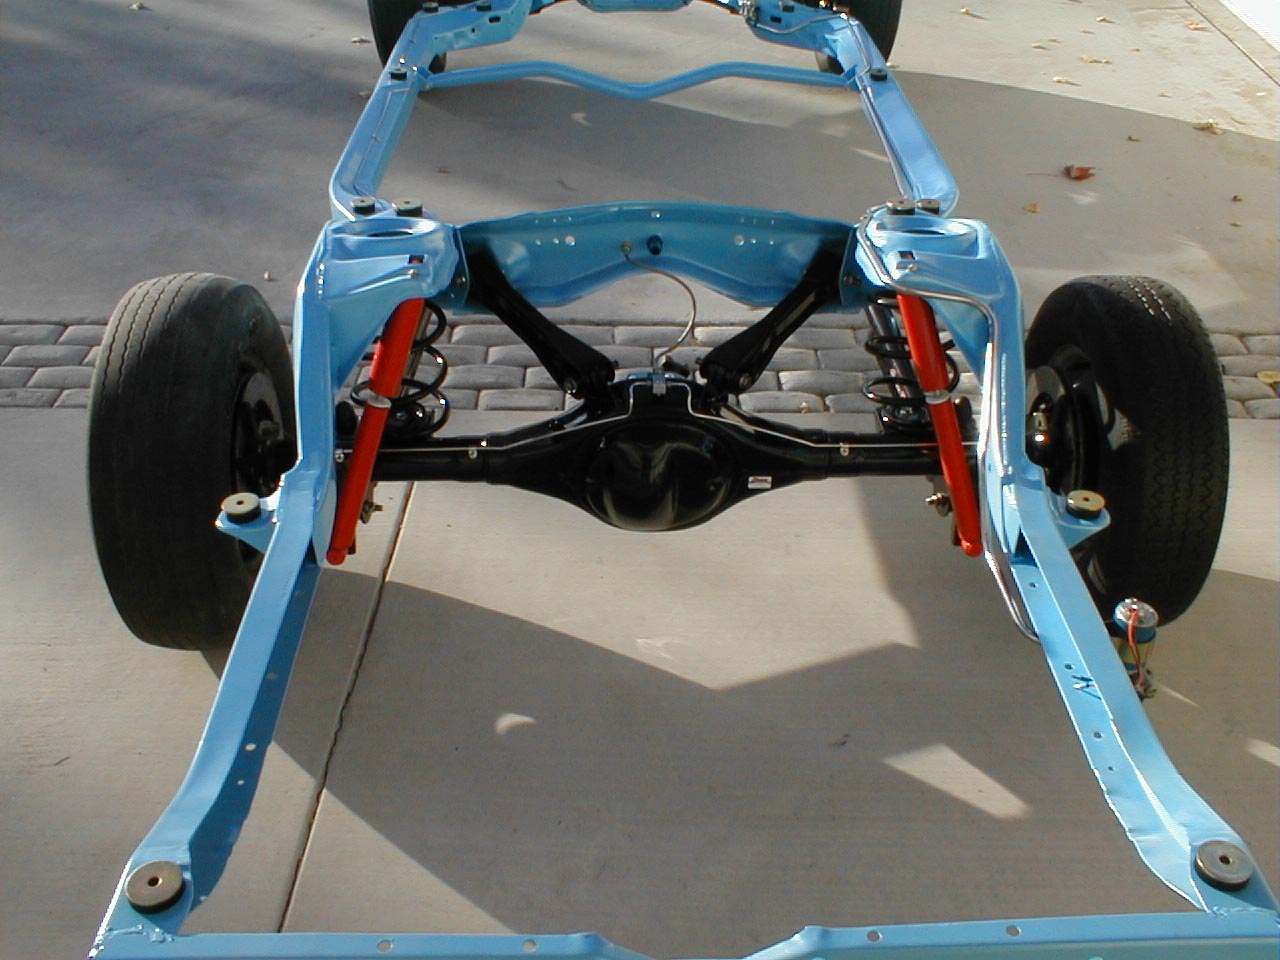
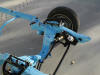
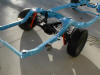
Boxed the upper trailing arms, new Koni shocks |
|
|
|

|
|
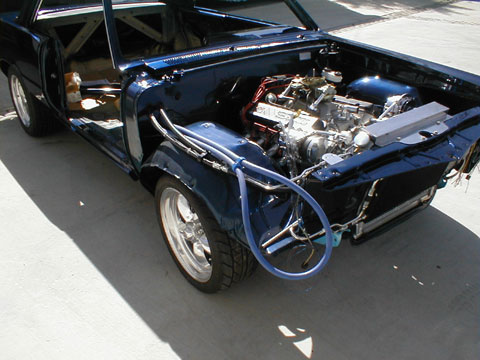
You can see both the fuel lines and the brake lines. Finding a block for the rear end proved more difficult than planned |
|

|
|
Body in the paint booth |
|
|
|
Smoothed firewall |
|
|
|
Epoxy and primer on floors |
|
|
|
New top with fresh paint |
|
|
|
|
|
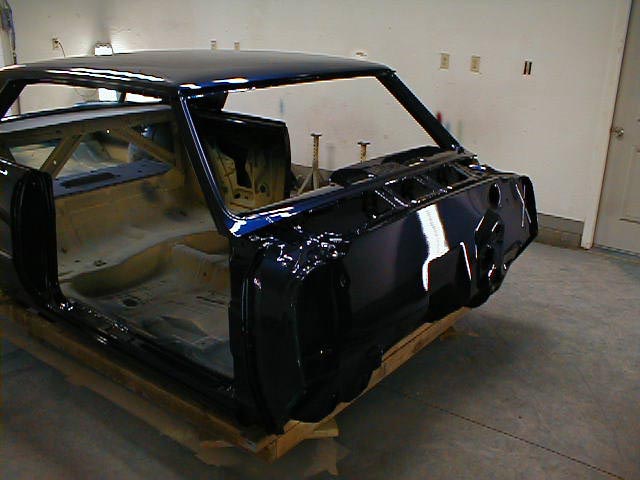
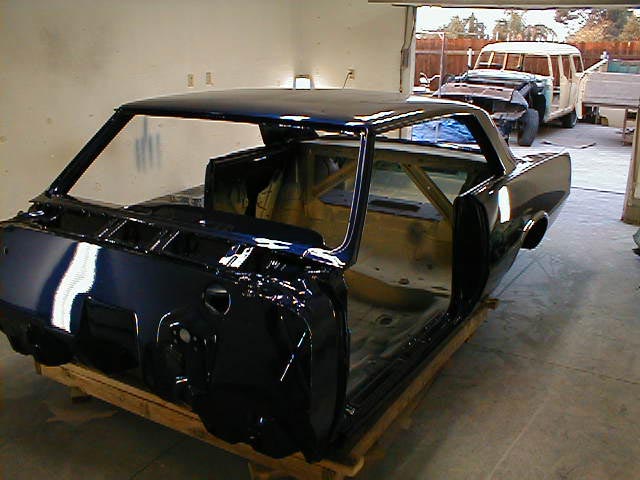
Body out of the paint booth |
|
|
|
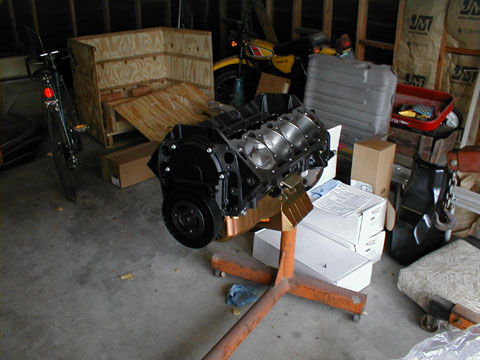
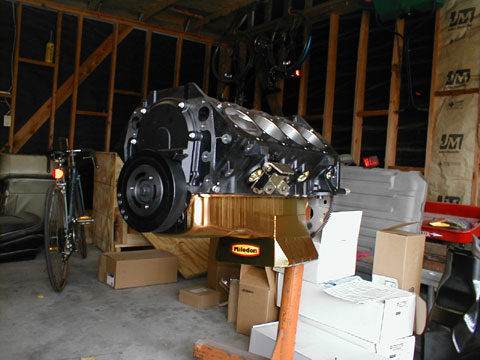
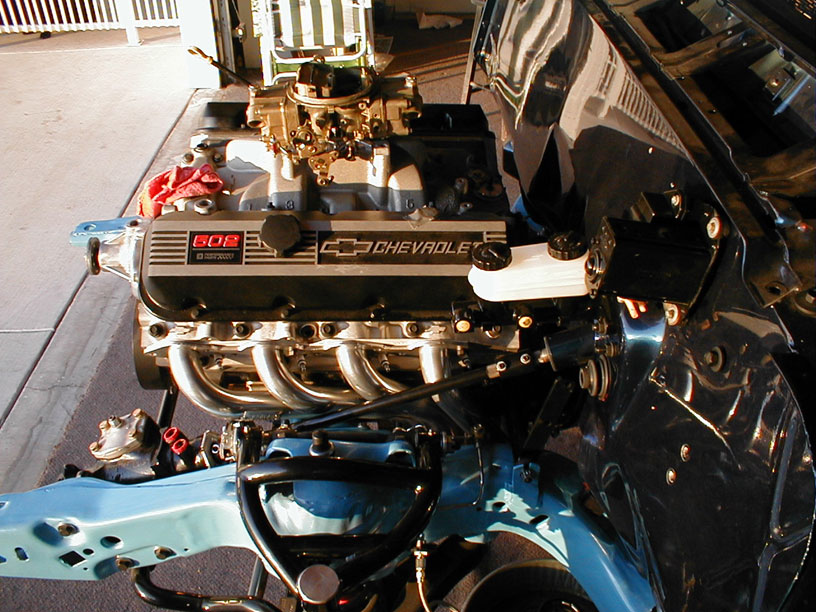
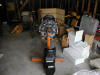
The 502 comes out of the crate and onto the stand |
|
|
|
Reading the instructions to ensure few errors are made |
|

|
|
Milodon oil pan will create more problems in the future |
|

|
|
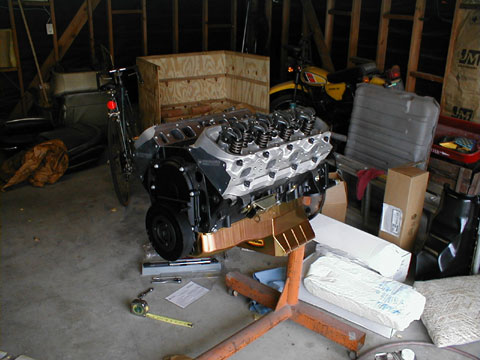
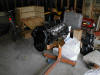
Aluminum heads go on |
|
|
|

|
|
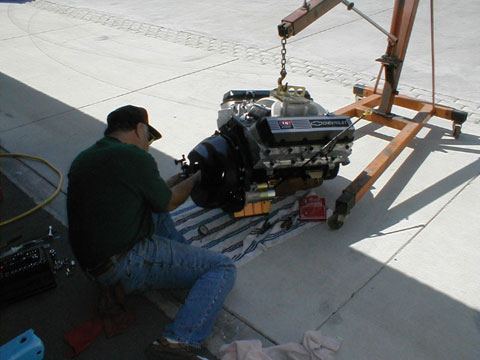
Friend Al aligning the scatter shield with the center of the crank to ensure proper alignment
|
|
|
|
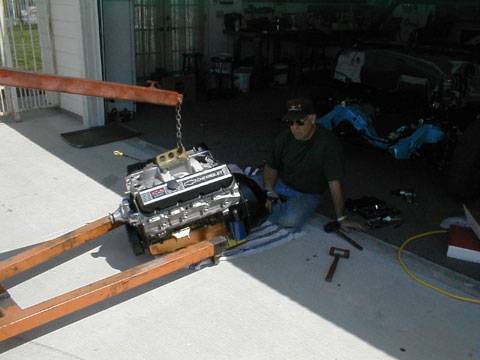
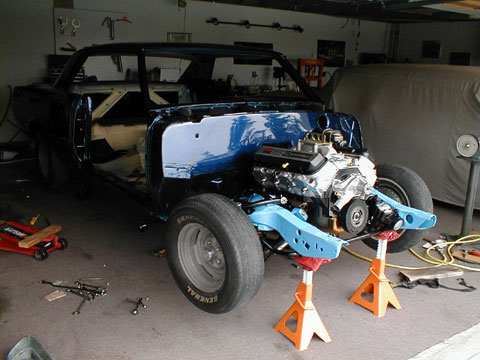
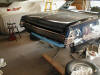
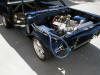
Getting ready to drop the engine in |
|

|
|
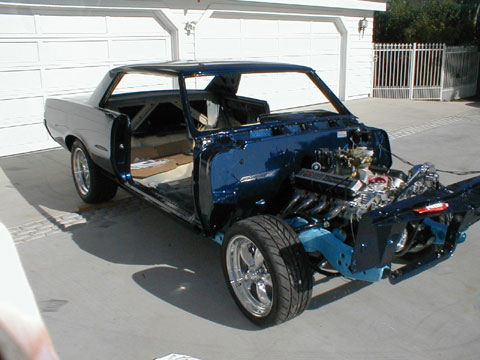
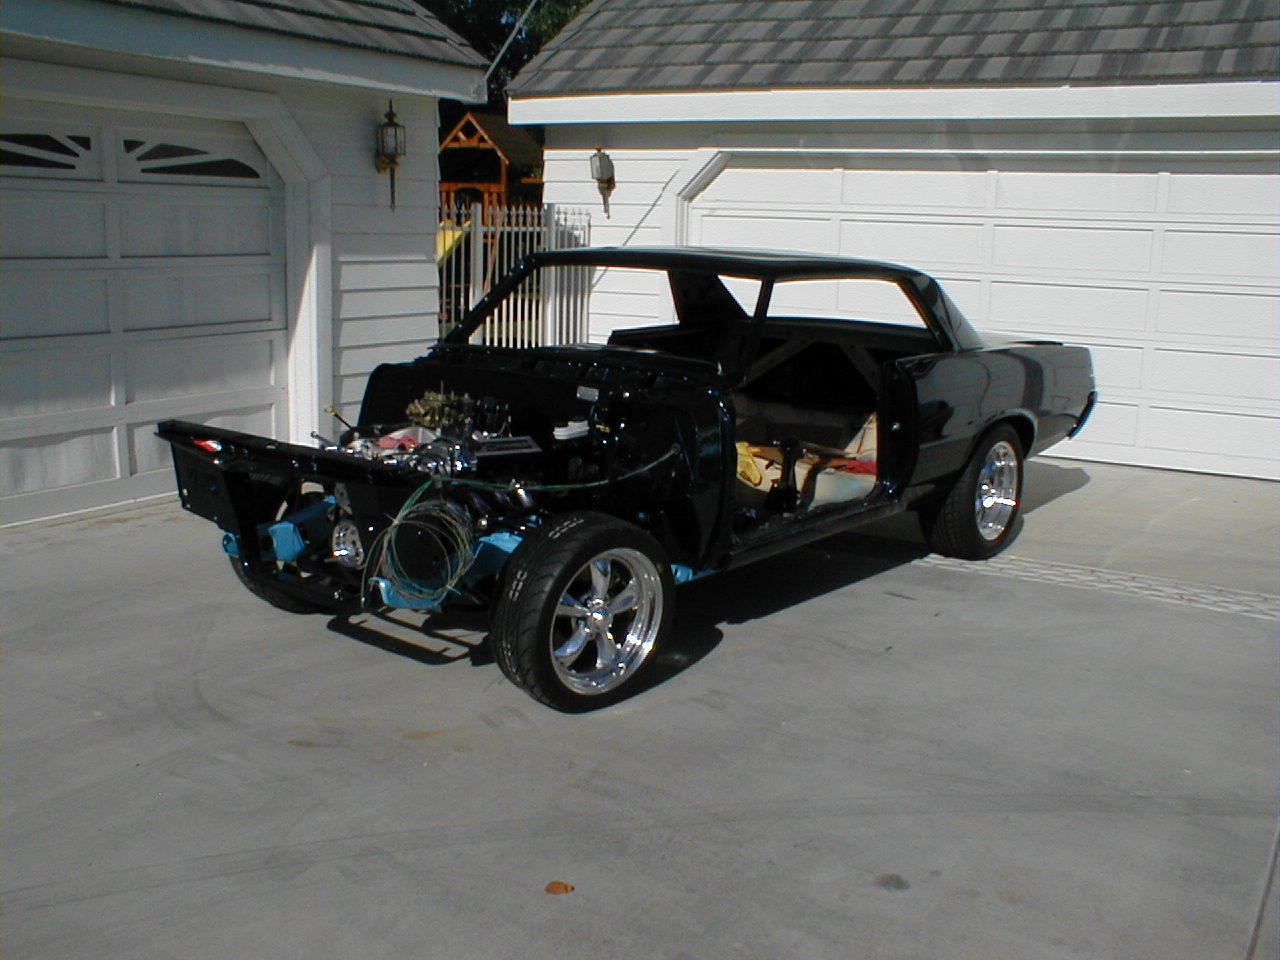
Body dropped on to the frame |
|
|
|
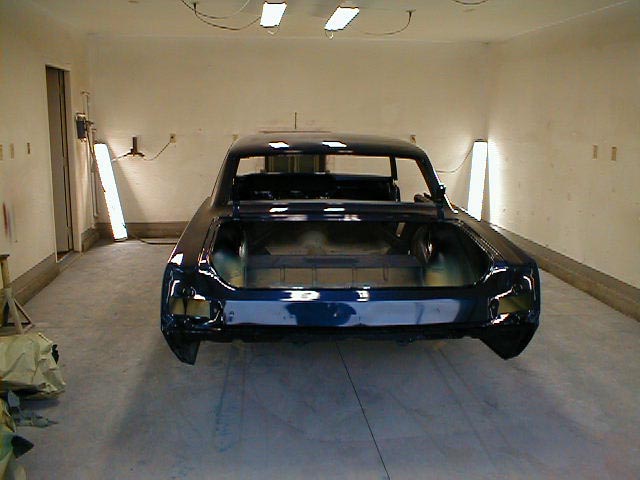
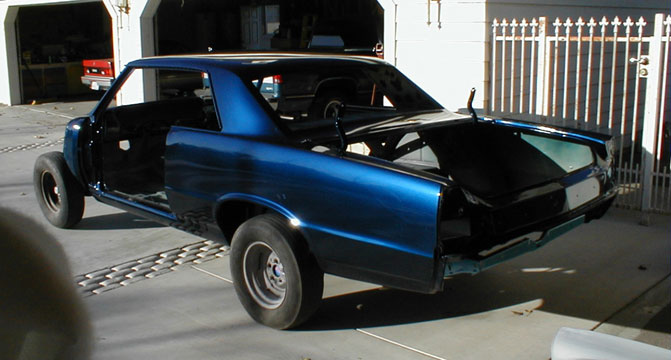
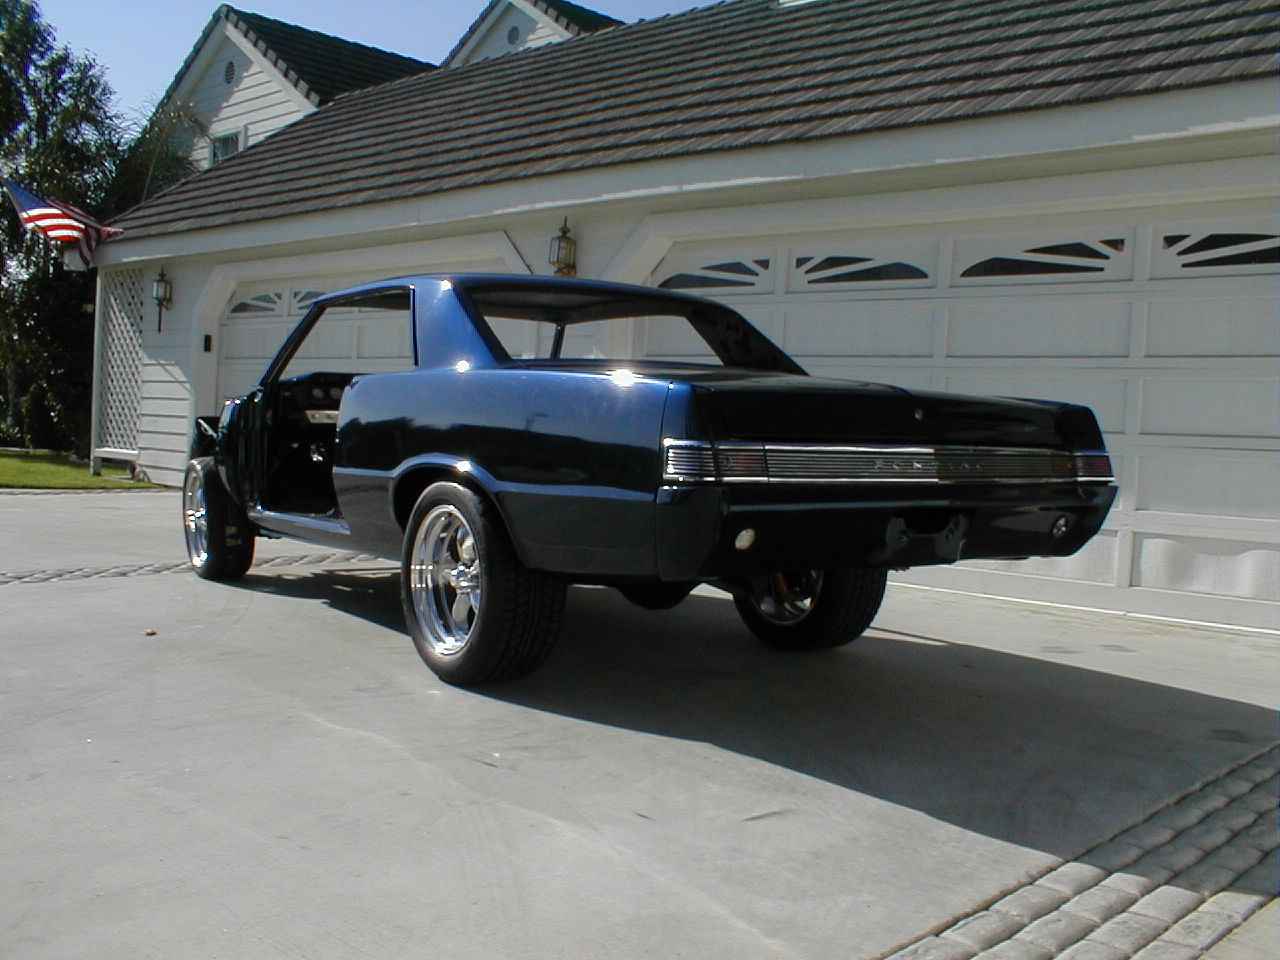
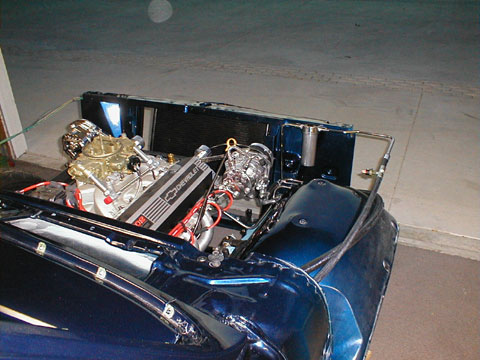
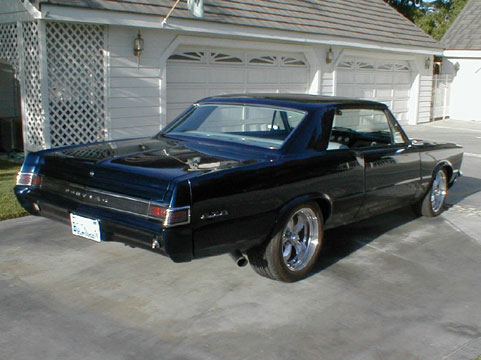
Rear of new combo |
|
|
|
First Master cylinder, didn't like the look |
|
|
|
|
|
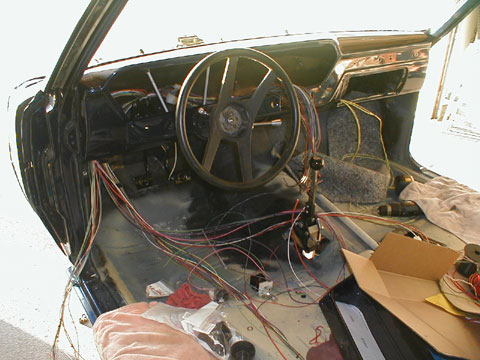
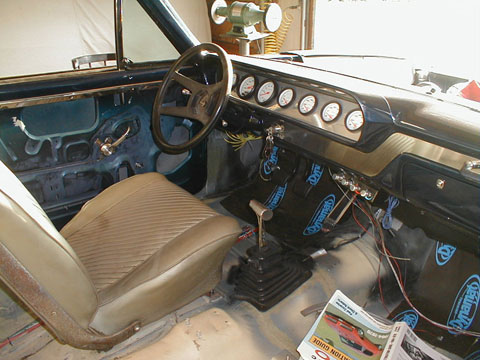
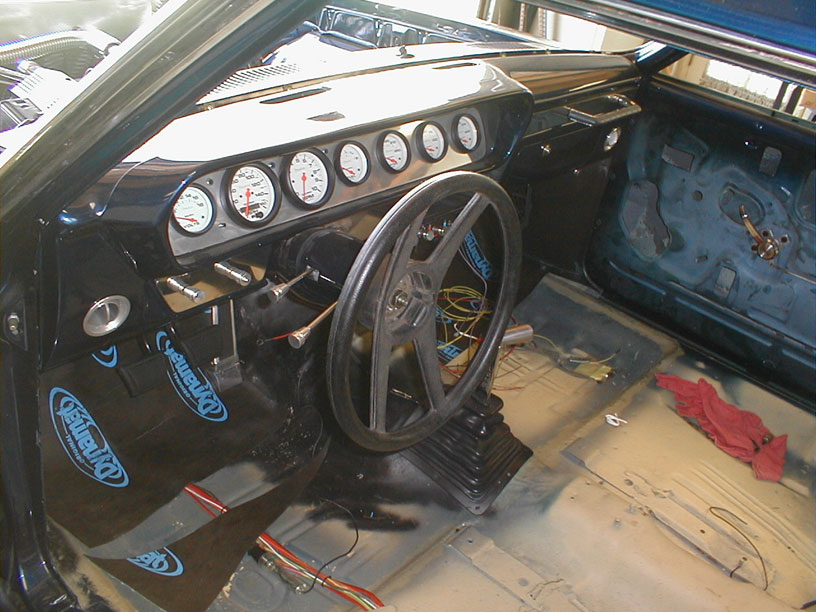
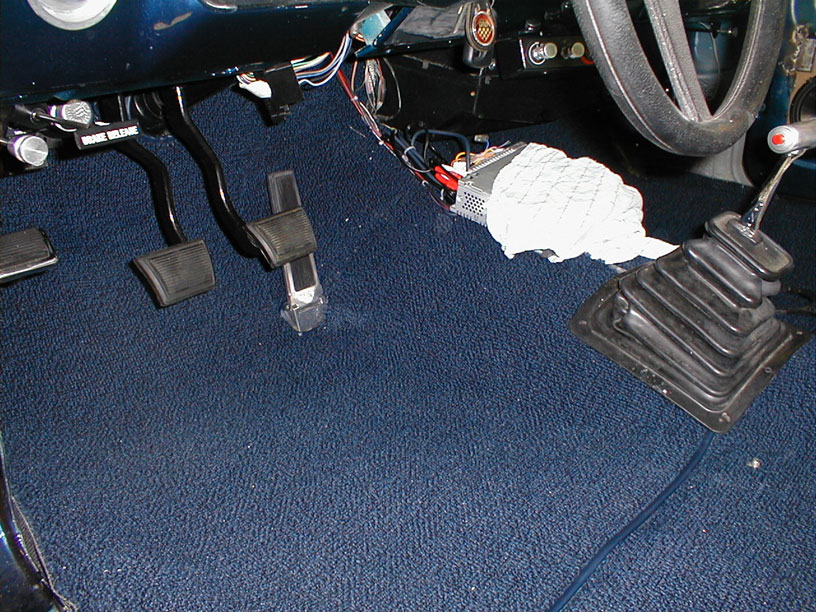
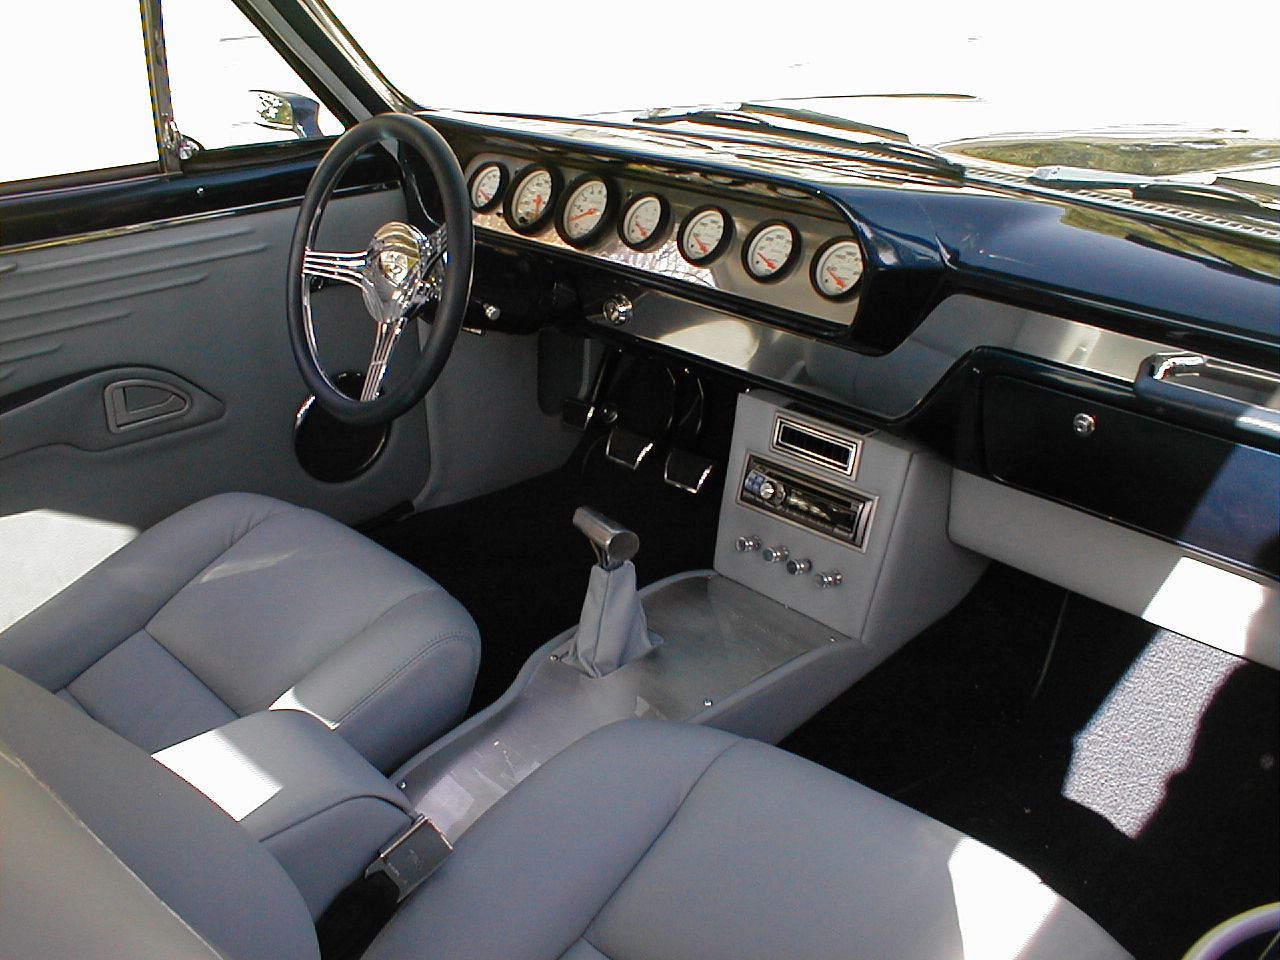
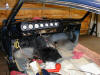
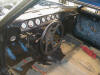
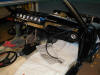
First fit of the hand crafted dash board, begining of the new painless wiring |
|
|
|
Drilled wiper knob to accept push button |
|

|
|
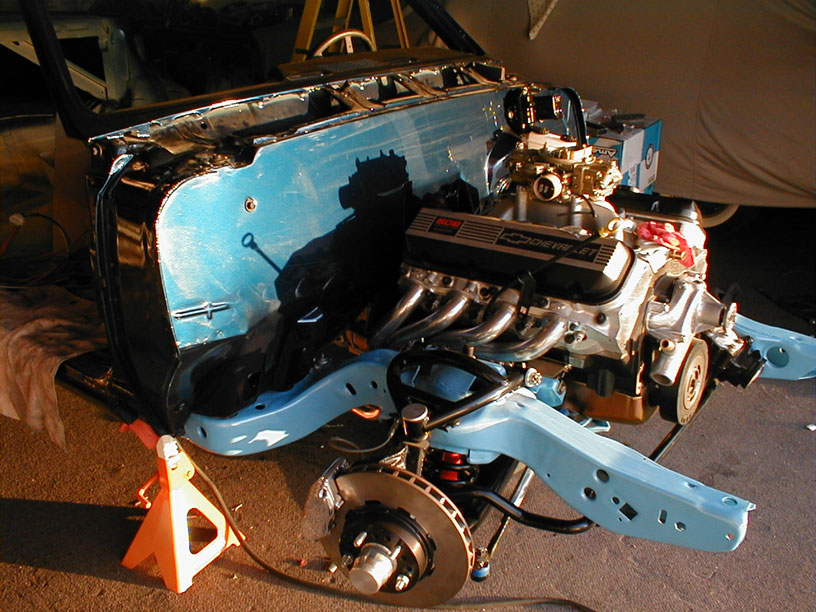
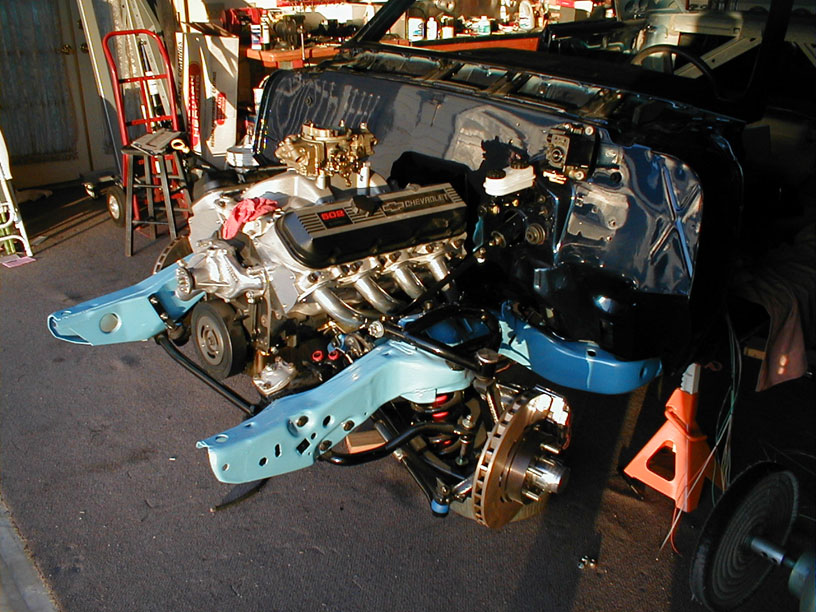
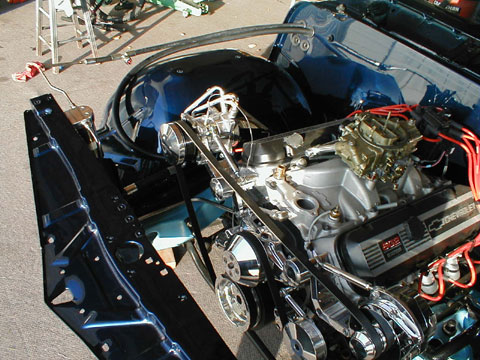
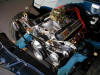
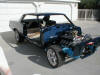
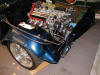
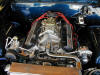
Engine meets chassis |
|

|
|
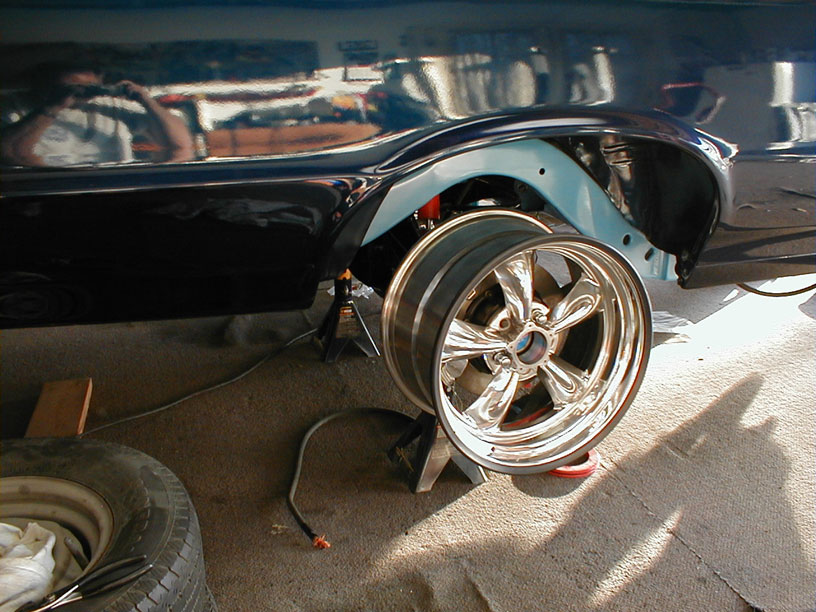
First look at 13 in Wilwood 4 piston brakes |
|
|
|
Wheels only fit when reversed on hubs the brakes won't fit in wheels |
|
|
|

|
|
New Chysler master cylinder installed |
|

|
|
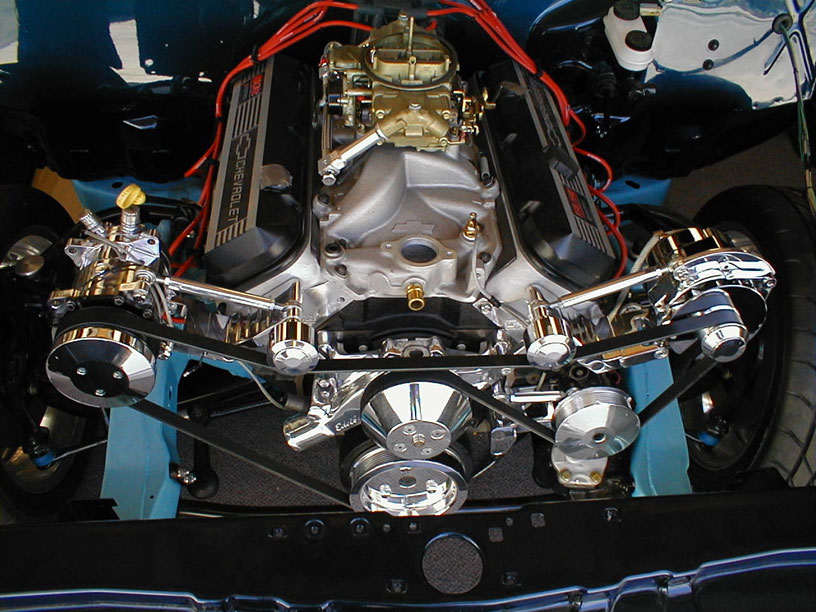
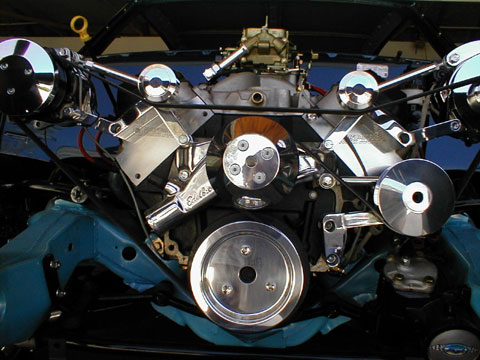
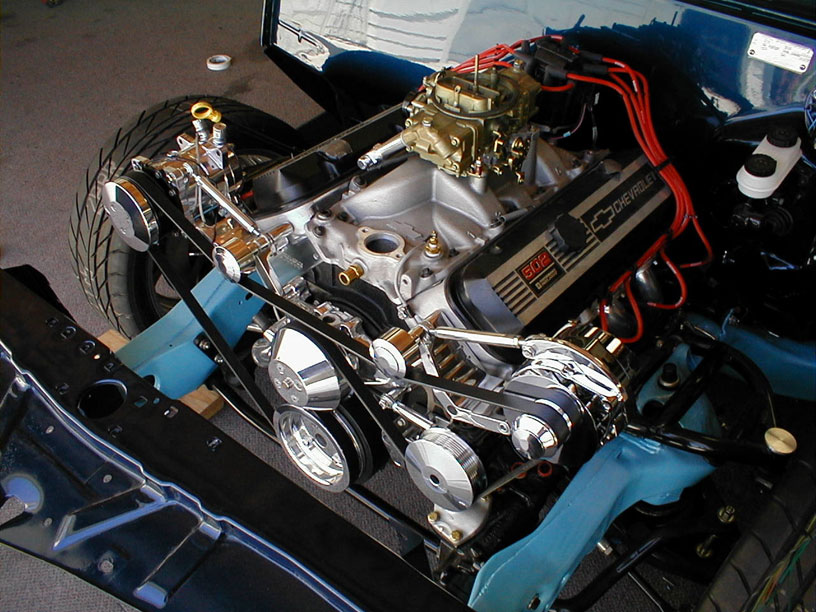
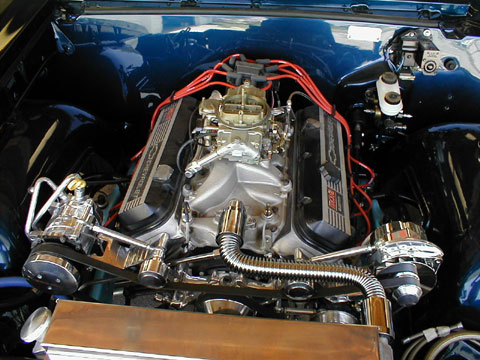
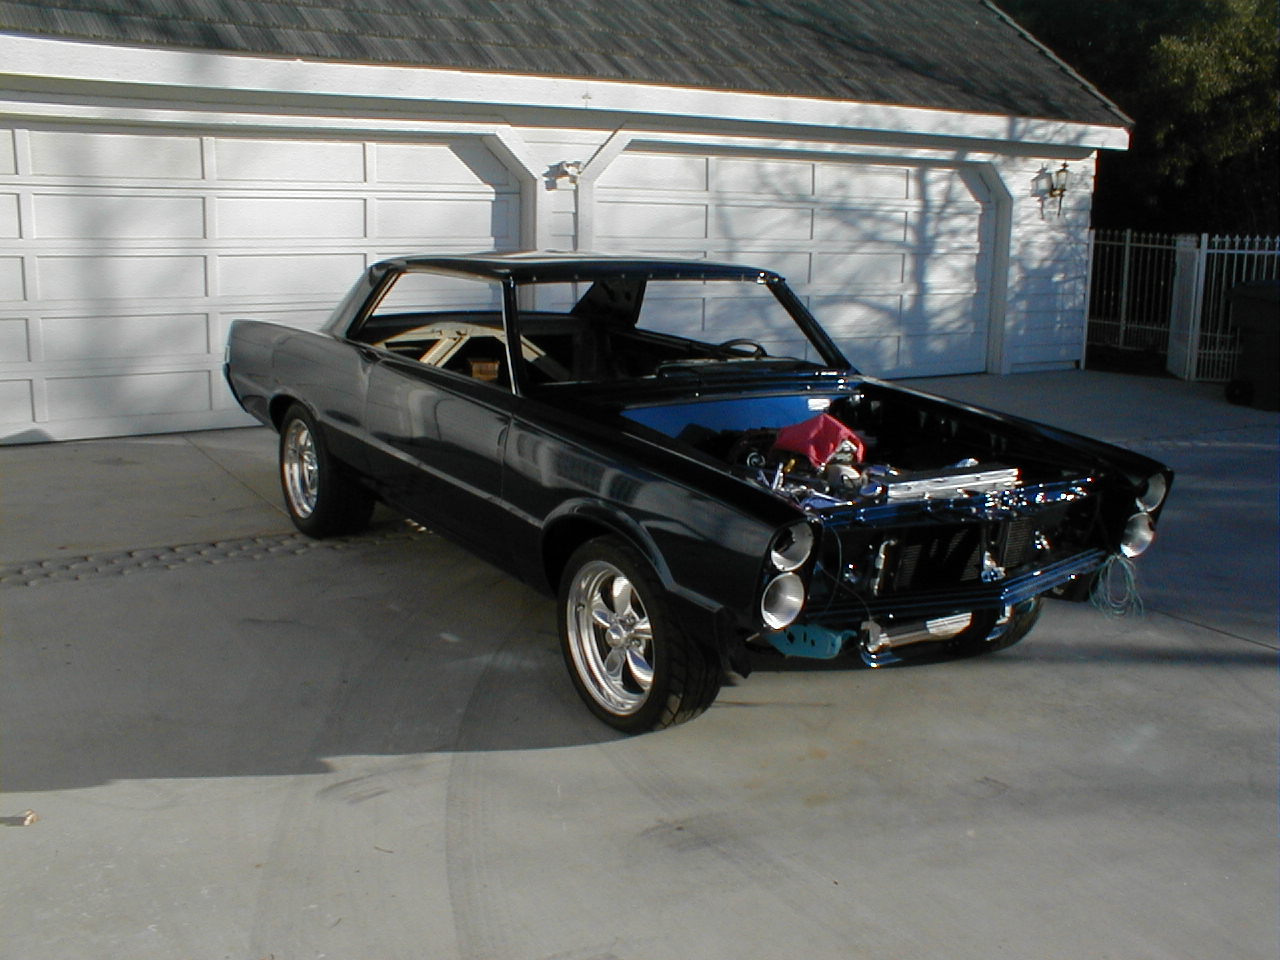
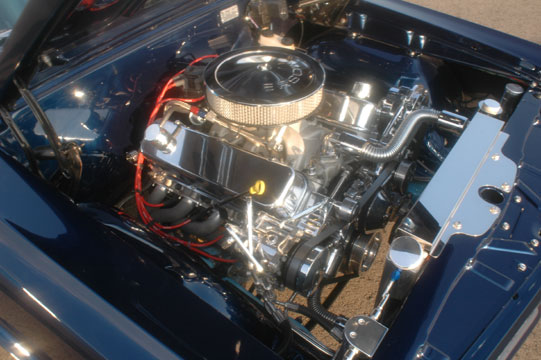
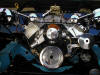
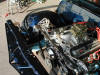
Here is engine with the new serpentine belt installed
|
|
|
|
Front view, use this to remember how to put the belt on |
|
|
|
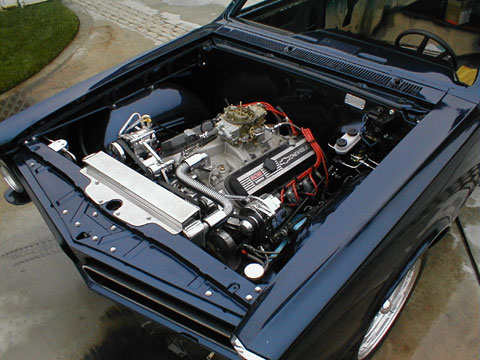
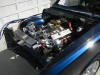
Top view with A/C compressor |
|
|
|
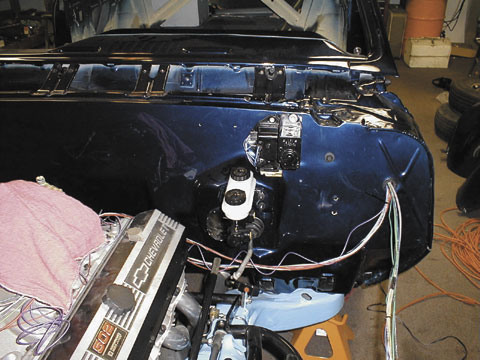
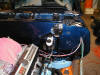
Removed the stock wiring holes. Began new wiring under fender |
|
|
|
|
|
Rear qtr extensions installed with tail lights and rear panel |
|

|
|
Trunk lid installed and aligned |
|

|
|
Wiring begins in earnest. Put battery in trunk creating new complexities |
|
|
|
Tried 17 in wheels on rear, did not like look |
|
|
|
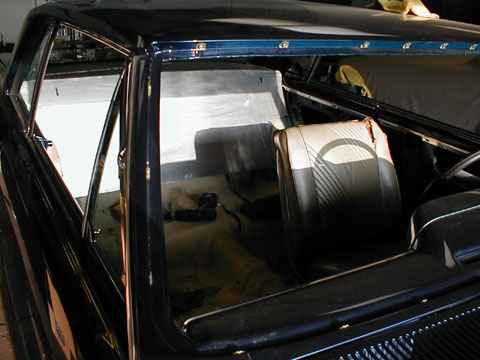
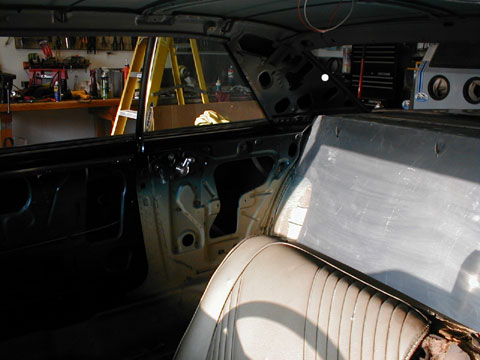
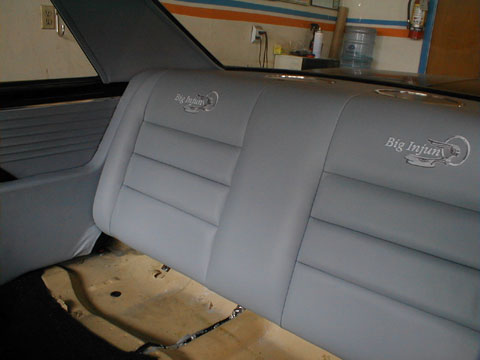
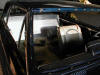
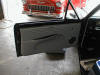
Installed aluminum sheet between rear seat and trunk |
|
|
|

|
|
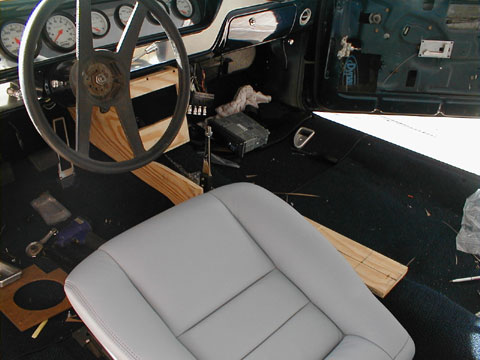
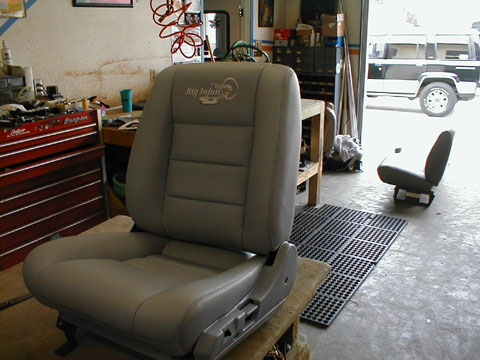
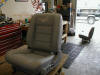
Test drivers seat |
|

|
|
Rear seat separator |
|
|
|
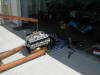
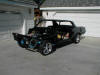
18 in Torque Thrush installed 18X10 rear, 18X8 in front |
|
|
|
Wiring to the front core support |
|
|
|
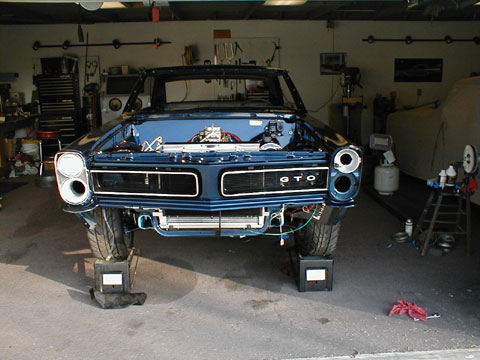
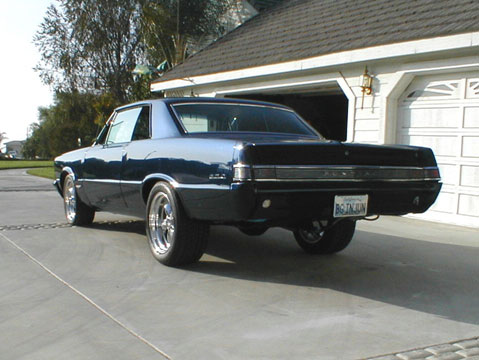
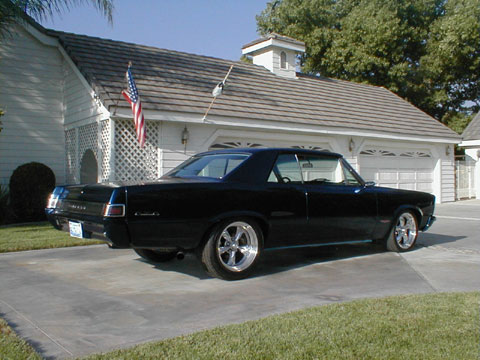
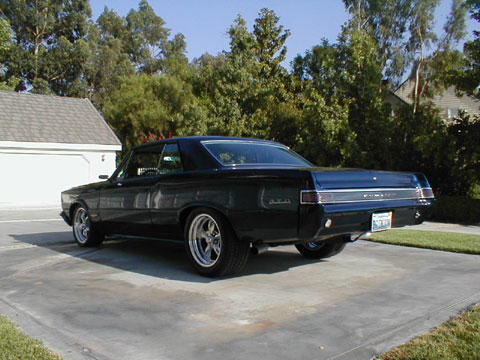
Back view |
|
|
|

|
|
Front wheel wells installed |
|
|
|
Dynamat and A/C outlets installed |
|
|
|
A/C lines with Low Pressure switch |
|

|
|
A/C lines from the back |
|
|
|
A/C Evaporator installed |
|
|
|
|
|
A/C Lines through the firewall |
|
|
|
Radiator installed |
|
|
|
Driver's side fender installed |
|
|
|
Heater hoses through firewall, use silicon long life hose |
|

|
|
License plate on, need to see with new fender |
|
|
|
|
|
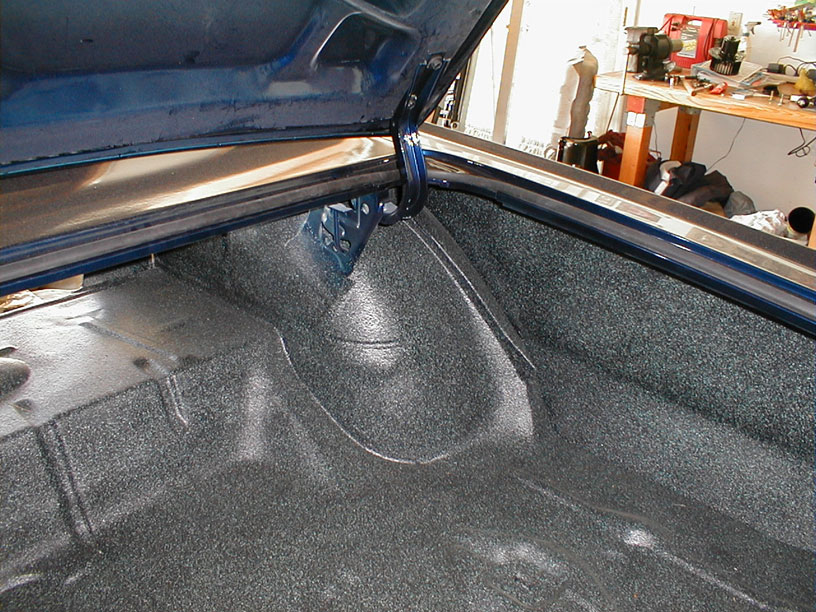
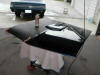
Trunk finished with splater spray. Intended to leave trunk stock looking |
|
|
|
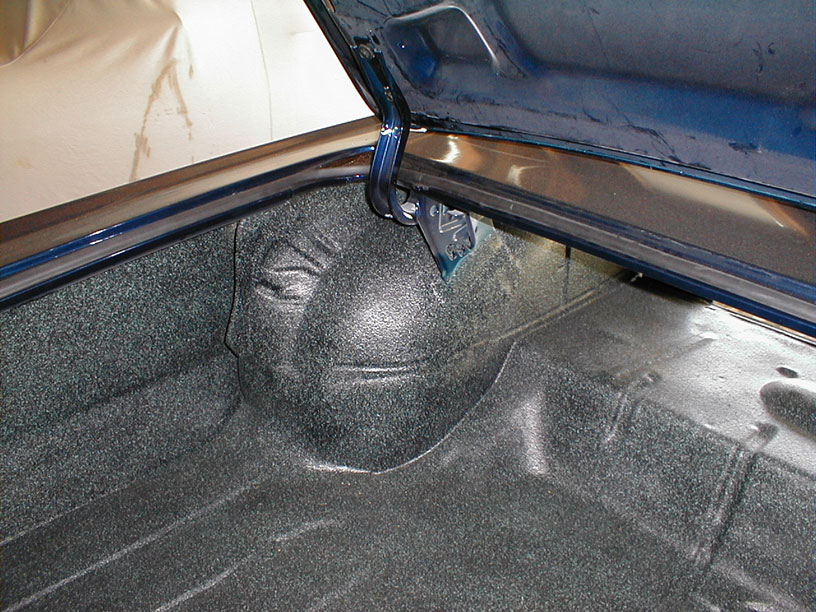
Other side of trunk, note hinge attachment to wheel well |
|
|
|
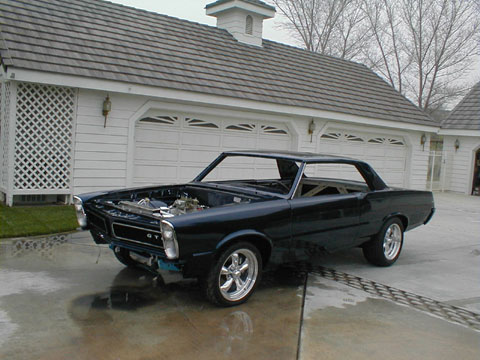
Outside with both fenders |
|

|
|
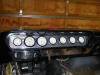
Headlights wired |
|

|
|
But still need horns, turning lights |
|
|
|

|
|
Relays installed for headlights, horns, fan |
|

|
|
Ready for color sanding, then glass |
|
|
|
Getting anxious for the next step
|
|

|
|
Power steering reservoir installed
|
|
|
|
Color sanding begins |
|
|
|
|
|
Water, sandpaper, old paint, makes a mess |
|
|
|
Even with an attempt at controlling the mess it is mostly a loss |
|

|
|
Friend Dave does the color sanding |
|
|
|
|
|
|
|
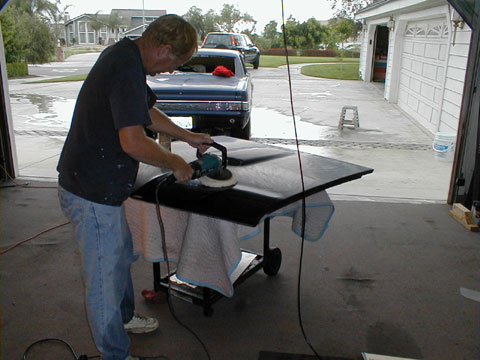
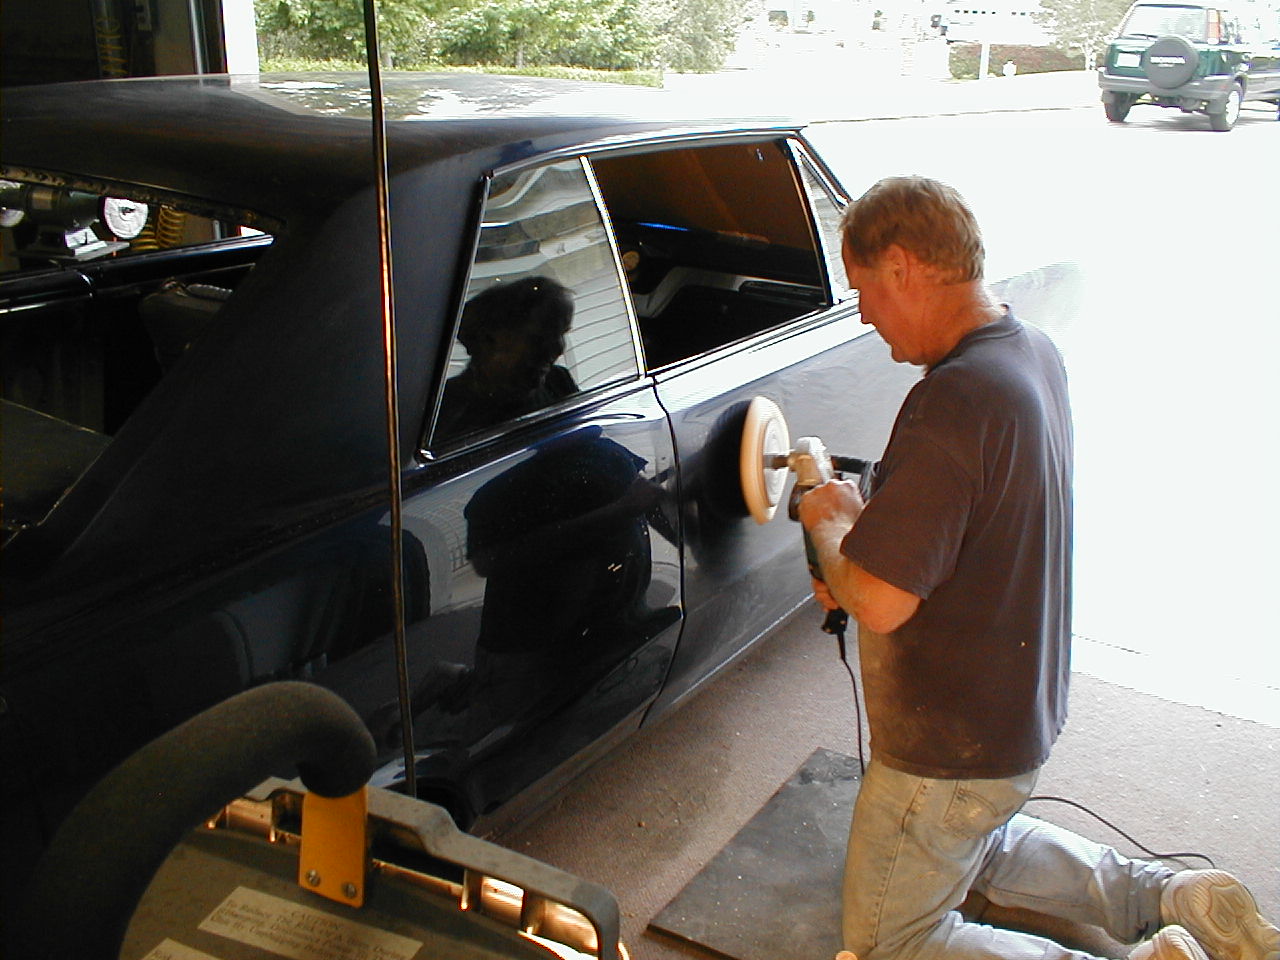
Buffing starts with the hood |
|
|
|
Results are remarkable |
|

|
|
Dave buffs the door |
|
|
|
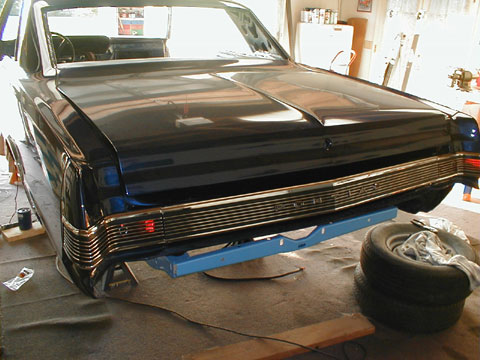
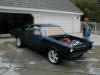
Hood and front bumper installed |
|
|
|
|
|
|

|
|
Car goes to Custom Auto Interior |
|

|
|
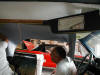
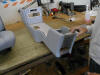
Ron's shop is small but does the best custom work around |
|
|
|
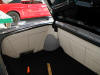
Trunk is covered with pad for carpeting |
|
|
|

|
|
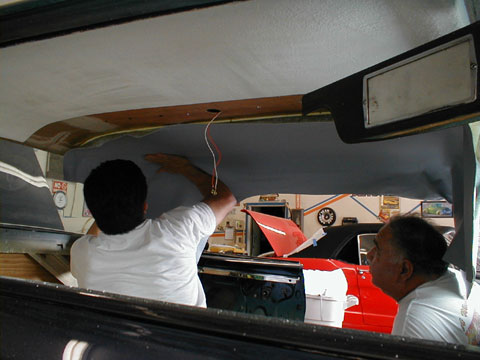
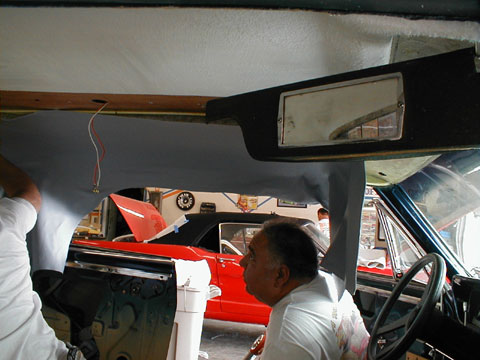
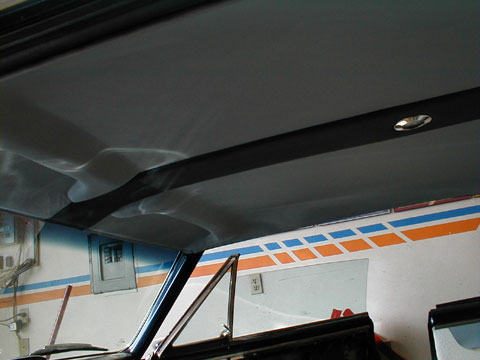
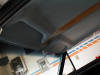
Headliner goes in |
|
|
|
Headliner worked down the side |
|
|
|
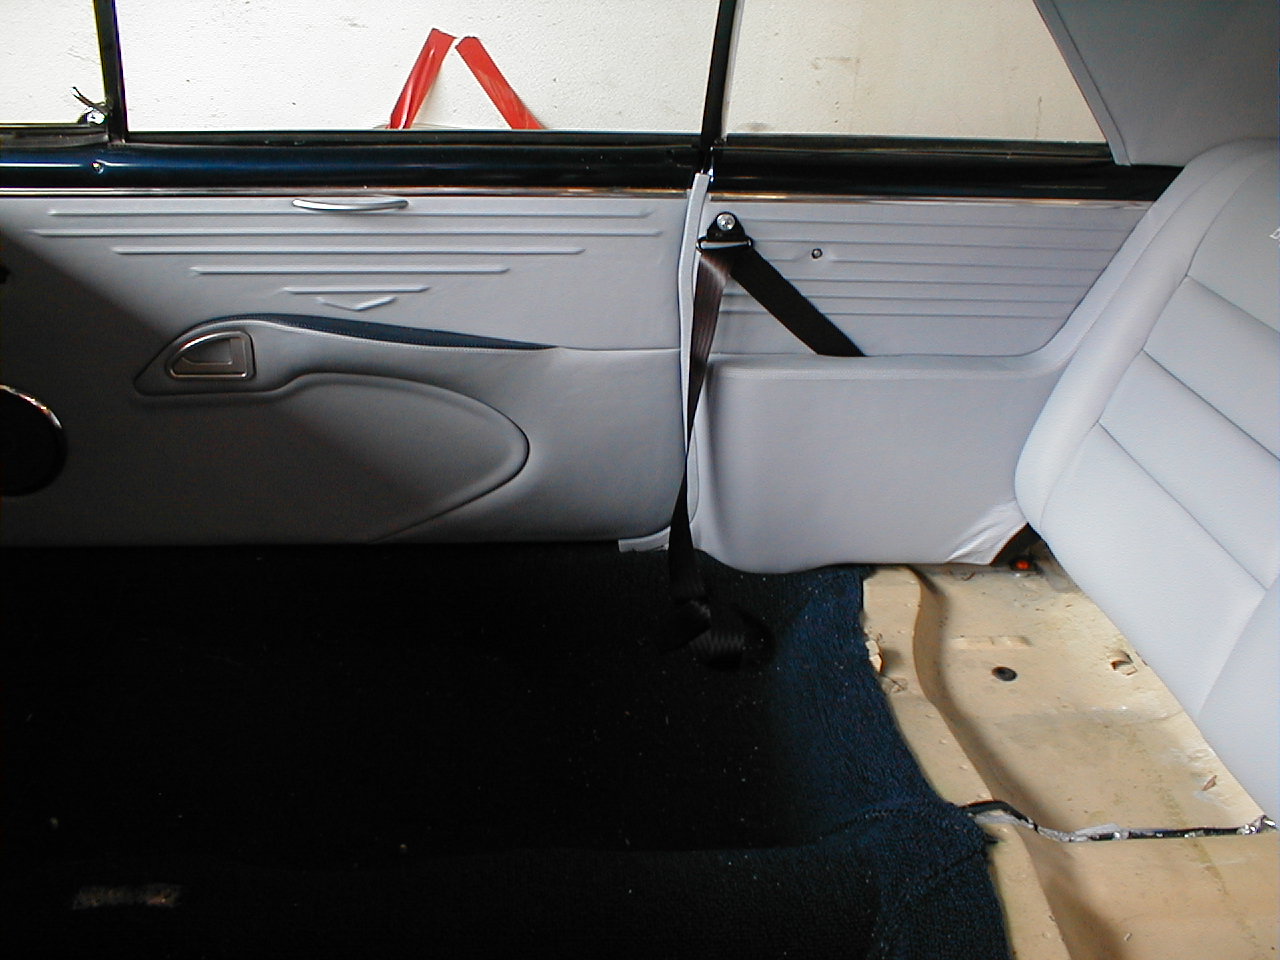
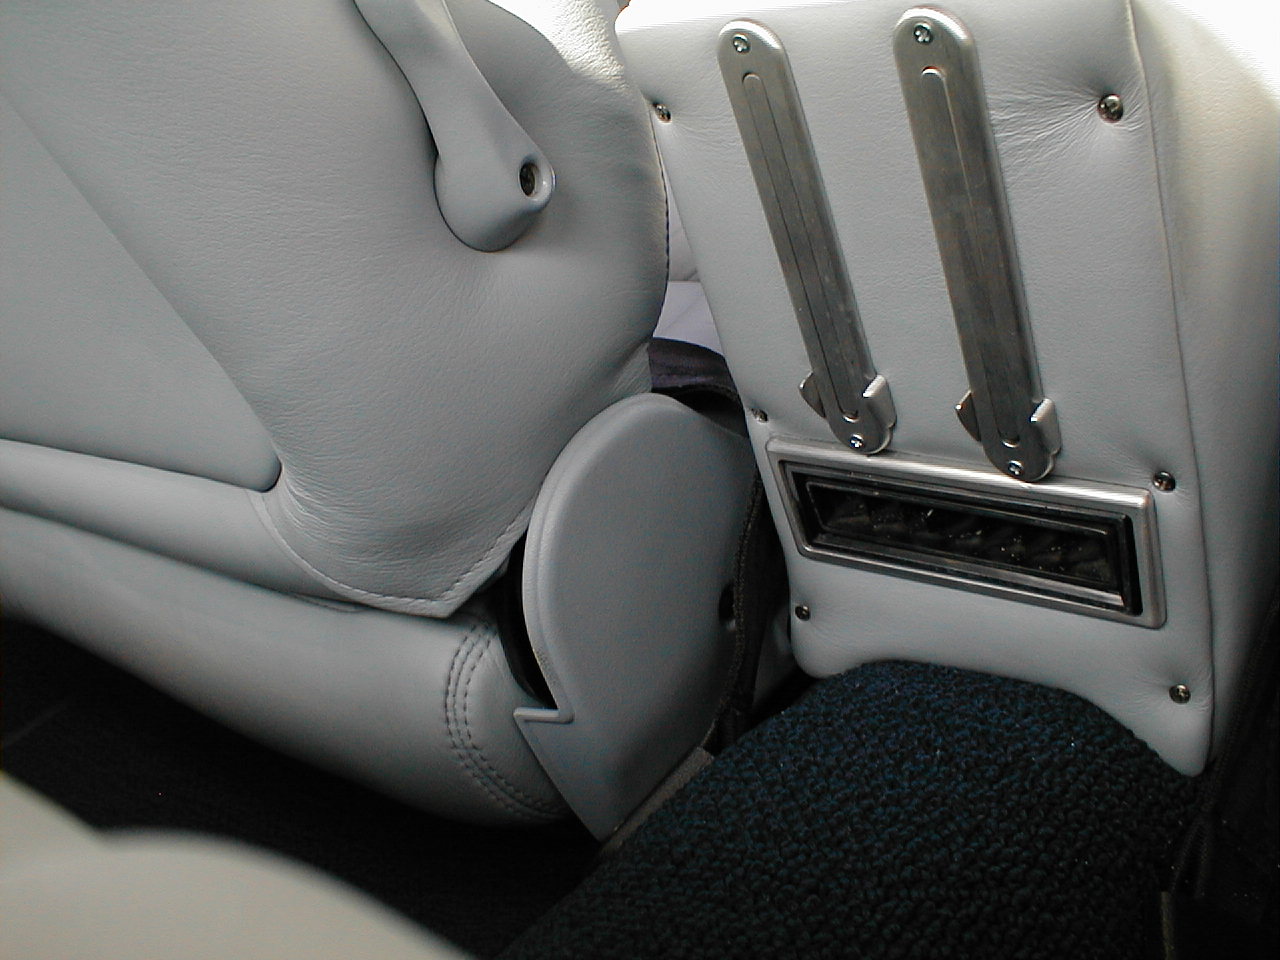
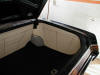
Rear door panels and arm rest built. Needed to cover the retractors for the sholder belts |
|

|
|
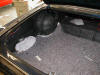
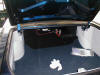
Sound system installed, speakers are close to clear battery box in trunk |
|
|
|
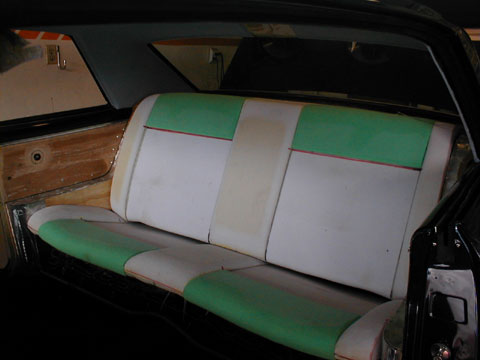
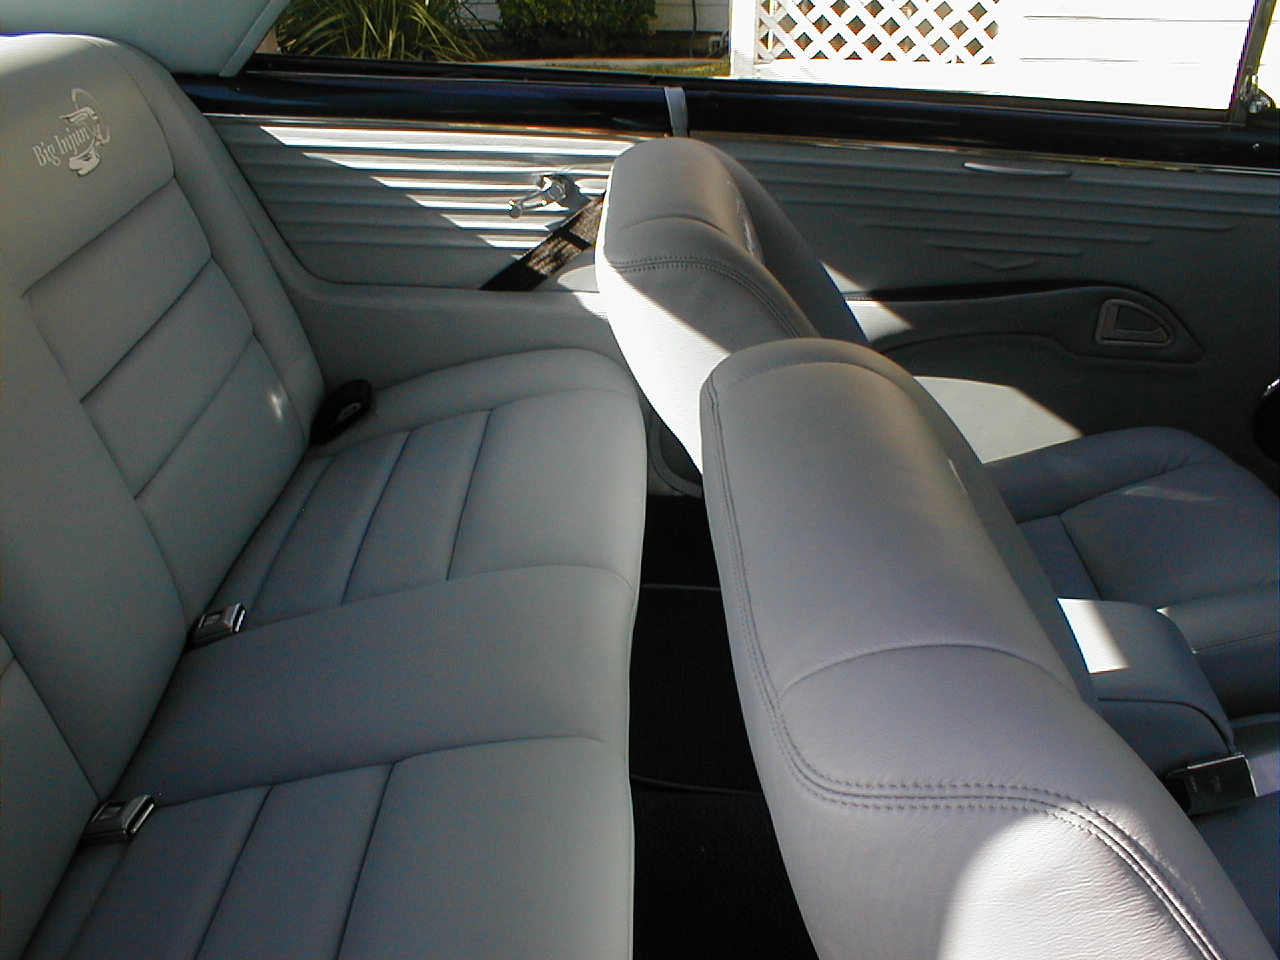
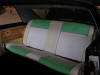
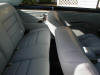
Rear seat foam built, rear seat was cut to provide room for arm rests |
|
|
|

|
|
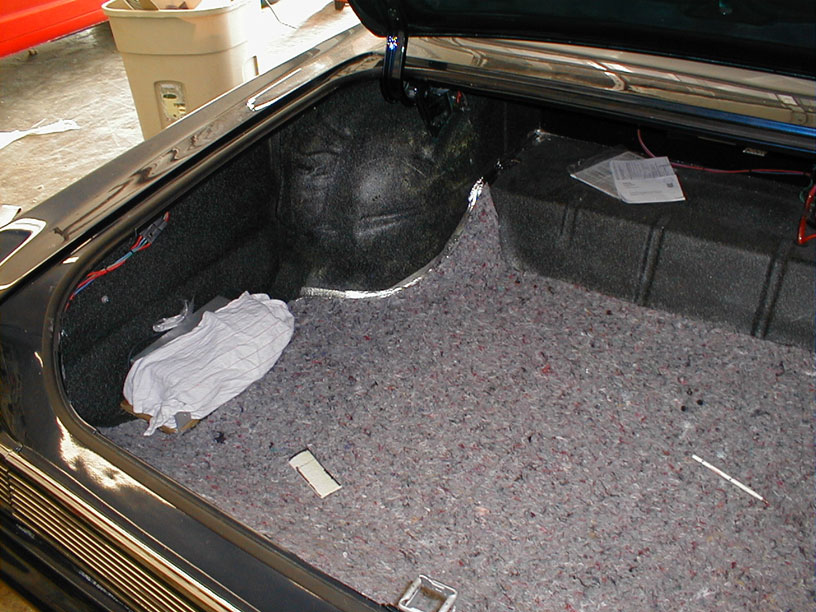
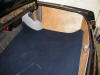
Carpeting goes in |
|

|
|
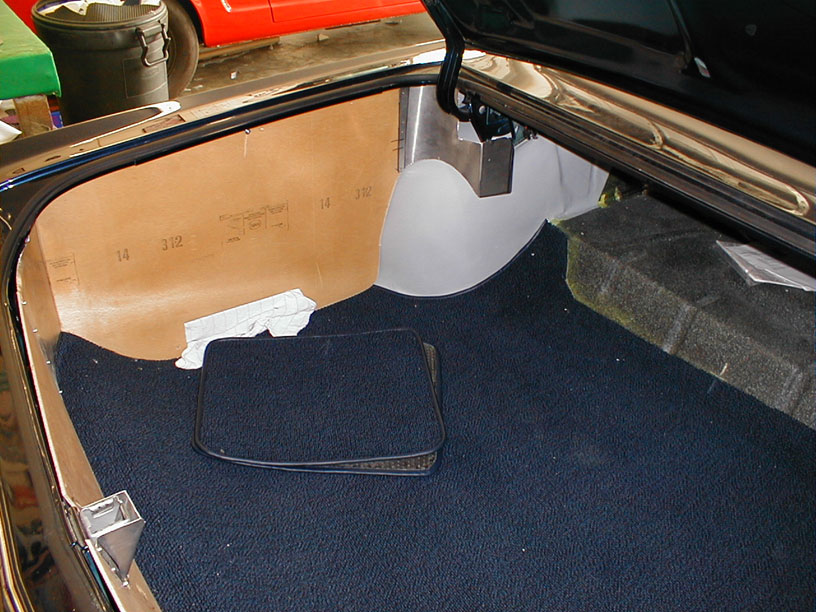
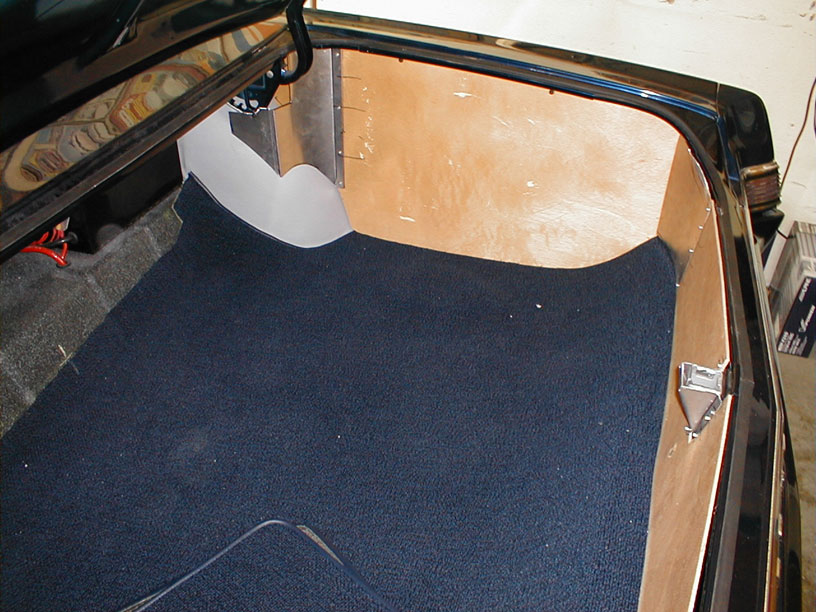
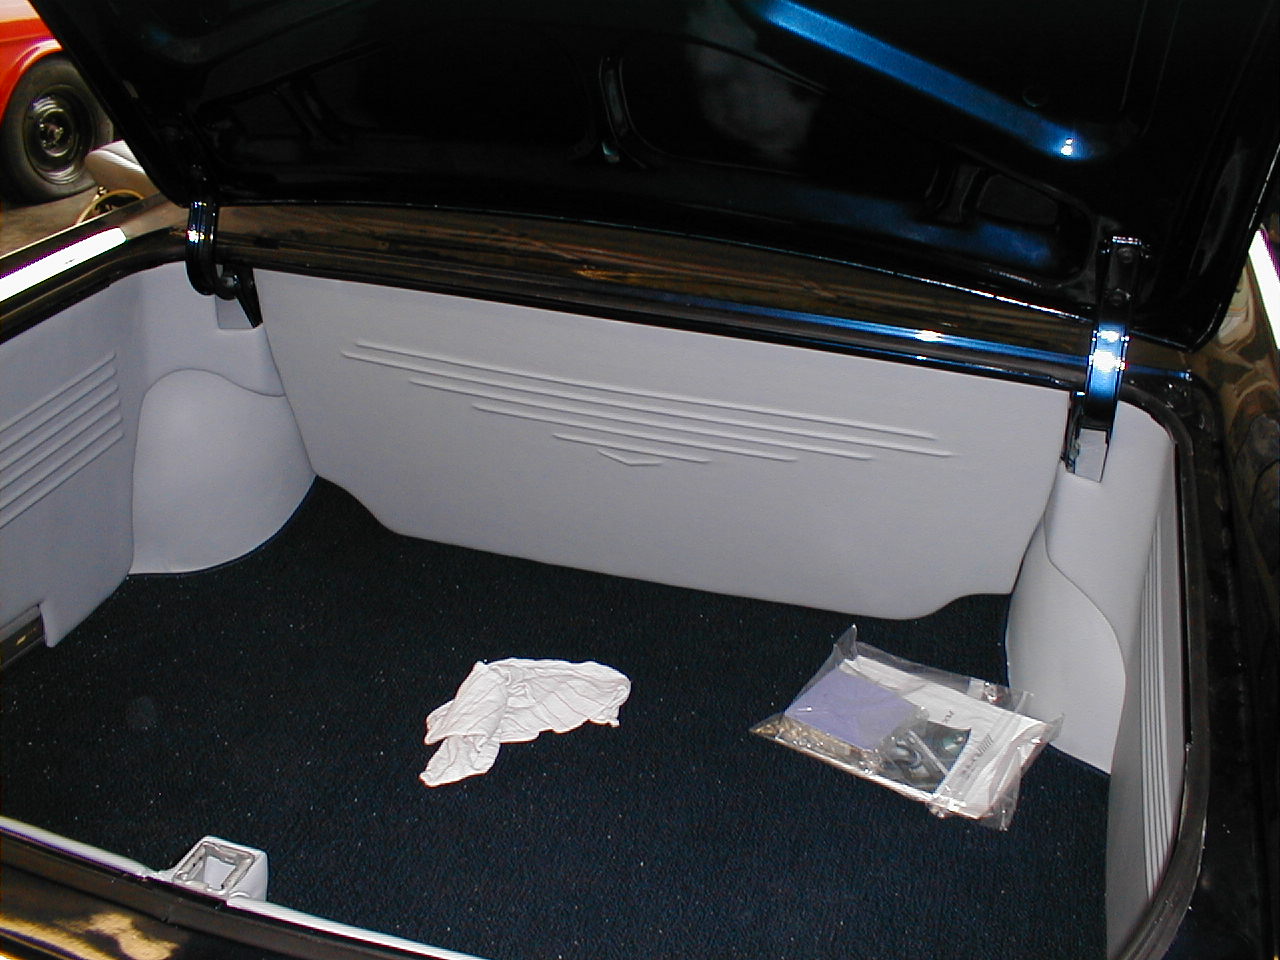
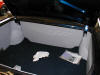
Carpet into trunk, wooden side walls built |
|
|
|
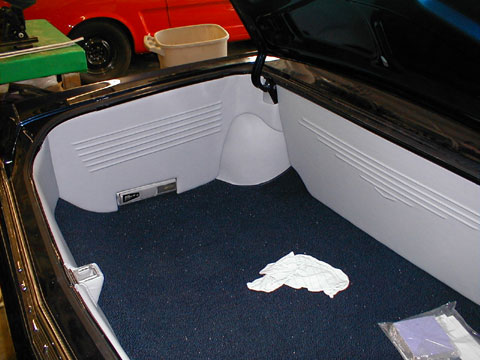
Side walls completely enclose trunk |
|
|
|
Headliner indentations for visors |
|
|
|
Carpeting complete |
|
|
|

|
|
Bottom half of driver's seat installed to design console |
|

|
|
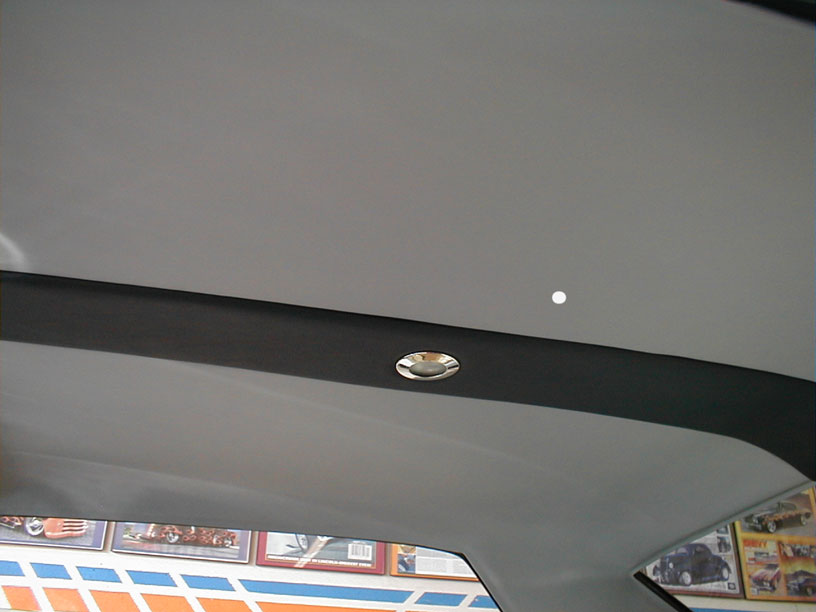
Headliner complete |
|
|
|
Front of headliner |
|

|
|
Beginning of console build |
|
|
|
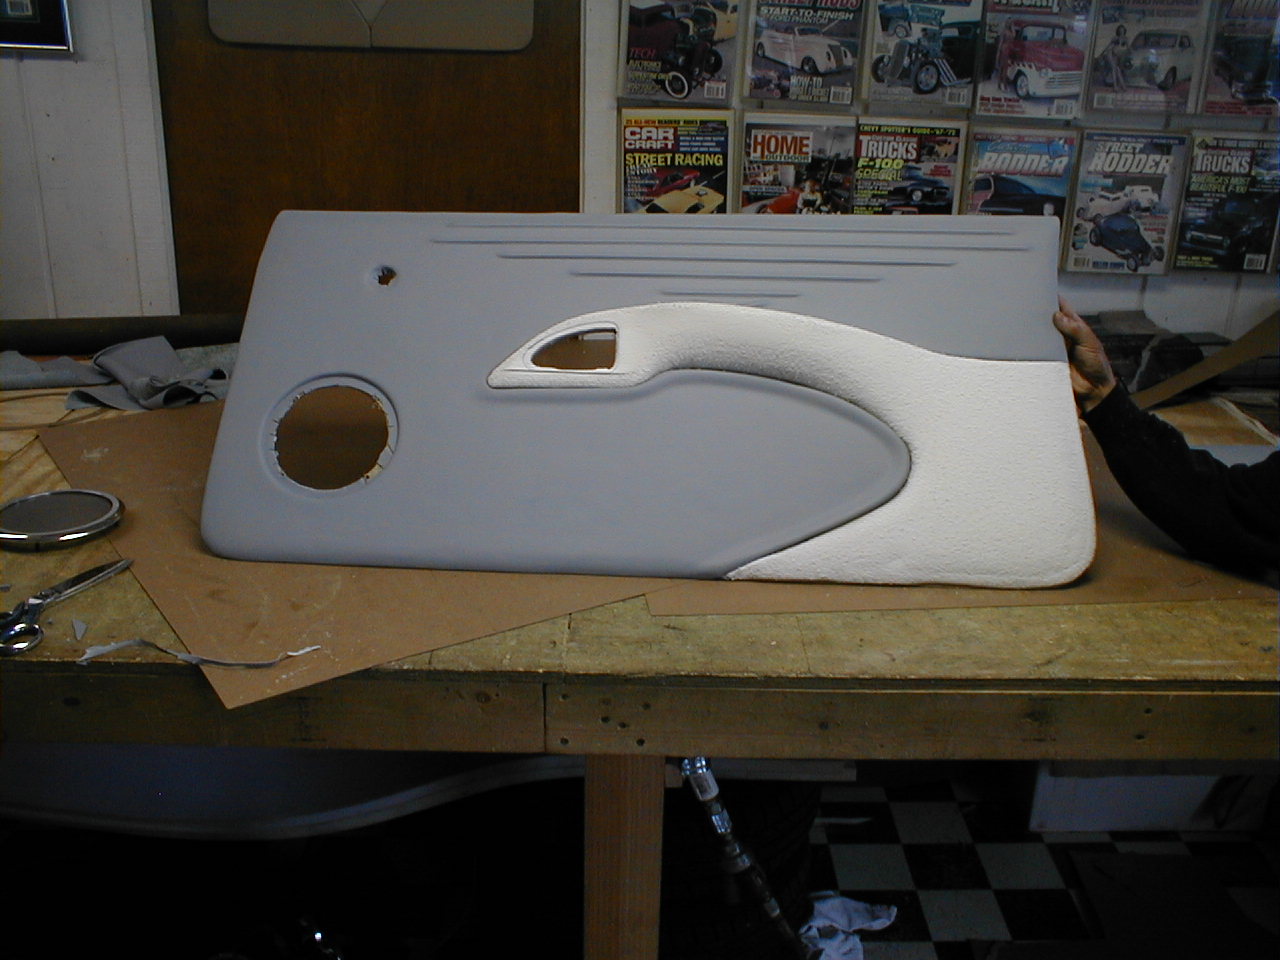
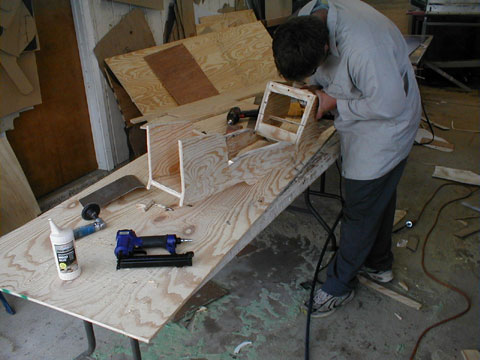
Door panel backing |
|
|
|
|
|
Trunk layout |
|
|
|
Side panels set for design |
|
|
|
CD Changer in side |
|
|
|
|
Trunk with battery box and steo amp, panel will hide |
|
|
|
|
|
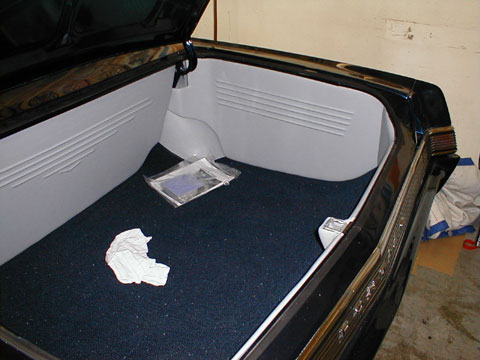
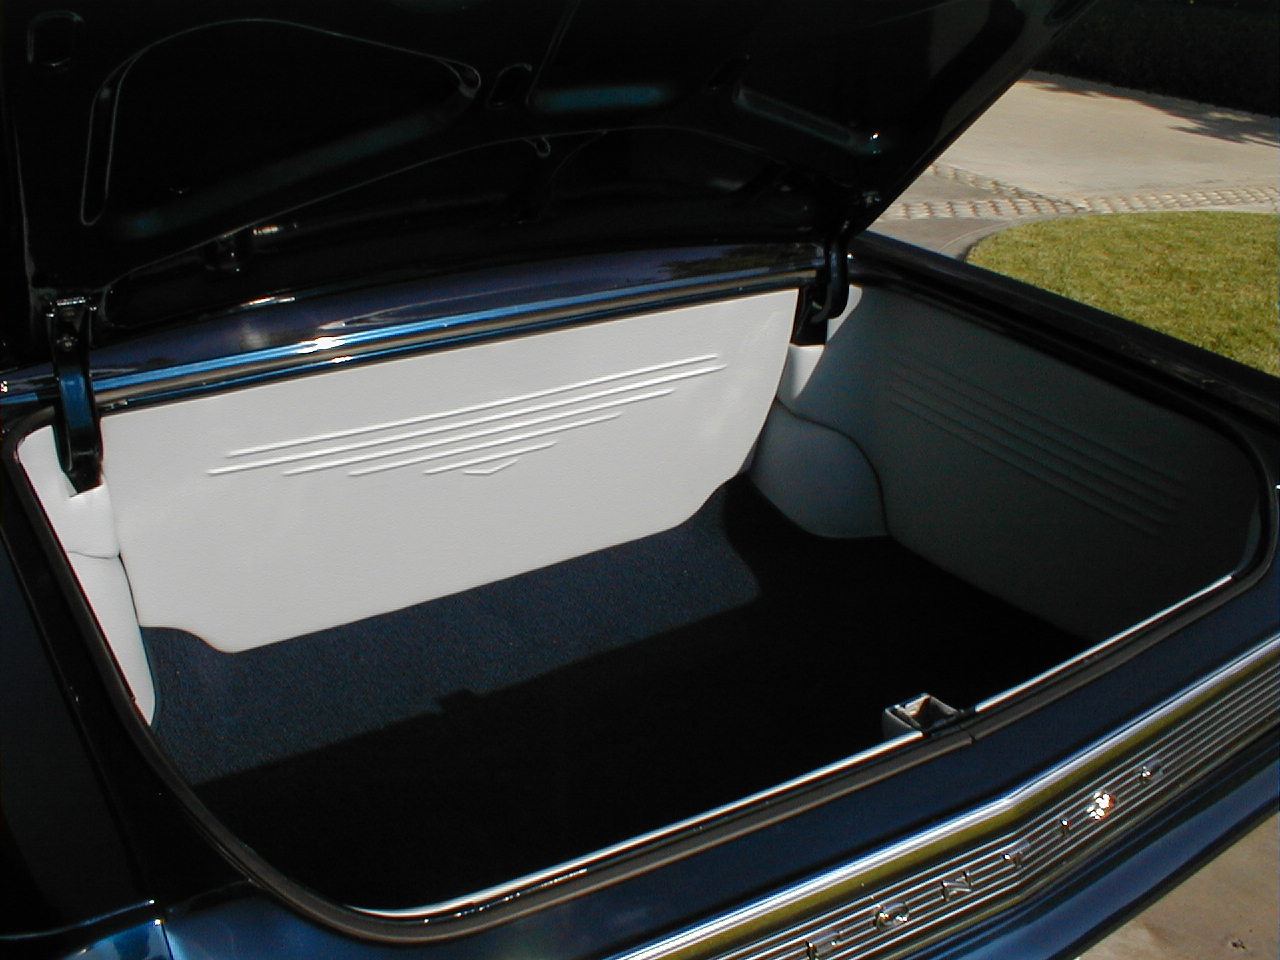
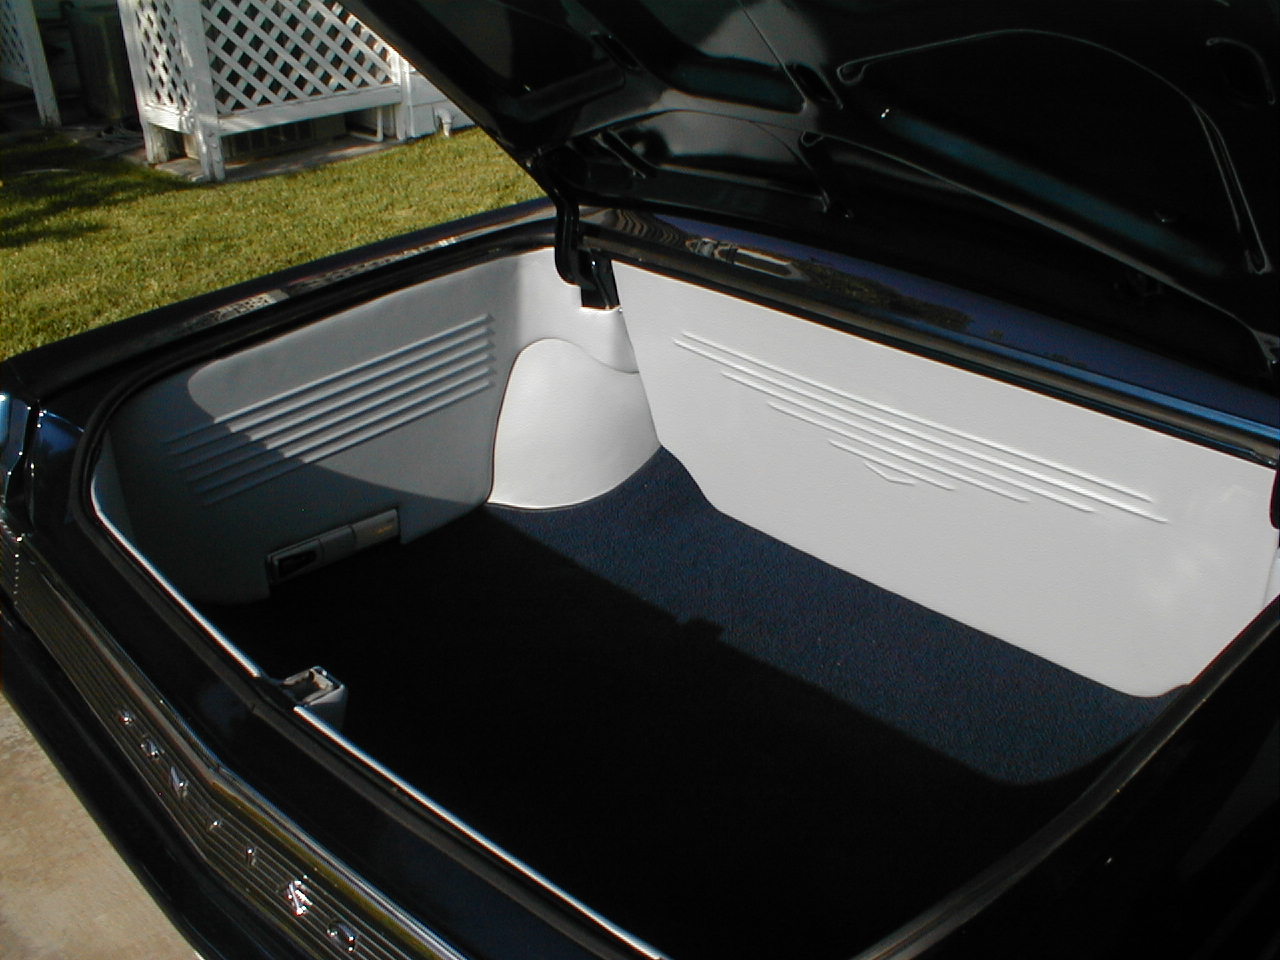
Completed trunk, note GTO emblem is design. Still large trunk with all wiring, battery, amp hidden |
|

|
|
Trunk, driver's side - cd player at bottom |
|

|
|
Trunk passenger side |
|
|
|
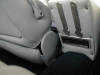
Rear arm rests |
|

|
|
Console begins to come together |
|
|
|

|
|
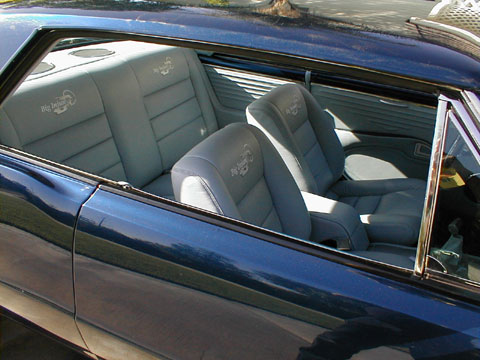
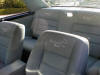
Top half of rear seat is complete |
|

|
|
Passenger side door panels and arm rests |
|
|
|
Driver's seat |
|
|
|
Driver's door |
|
|
|
Rear panel for cup holders and A/C vent |
|
|
|
|
|
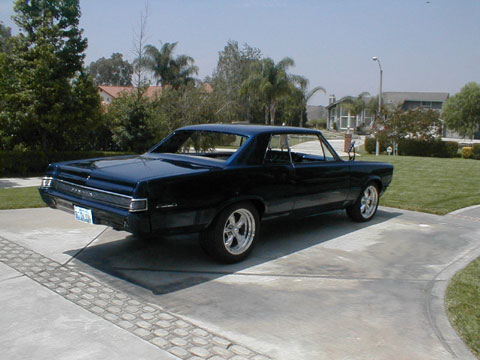
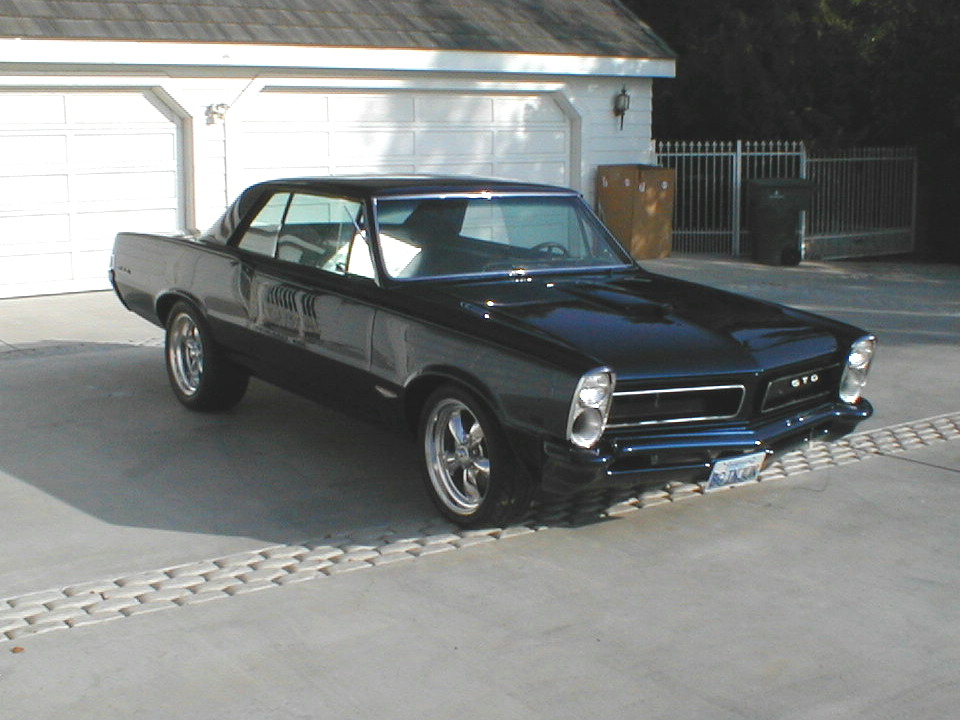
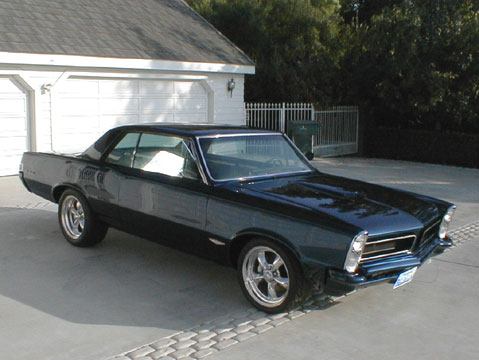
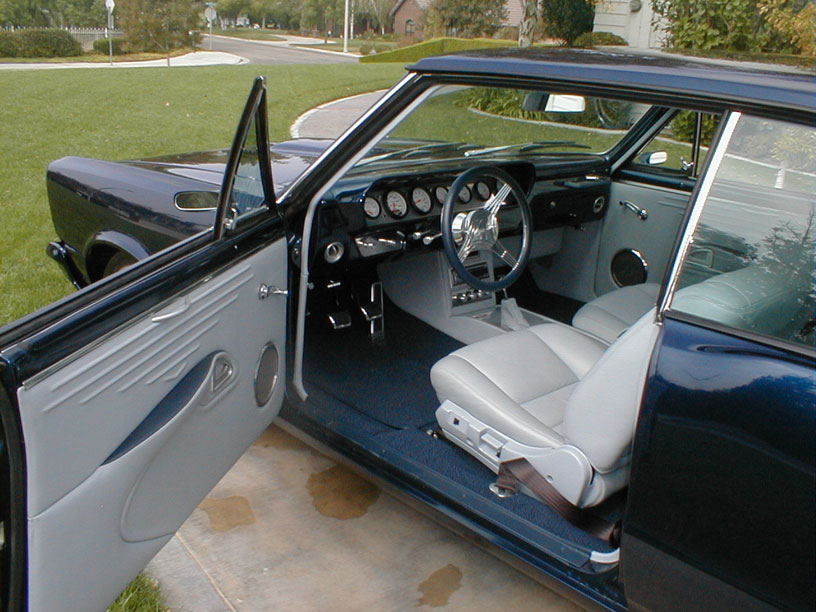
Back at home |
|
|
|
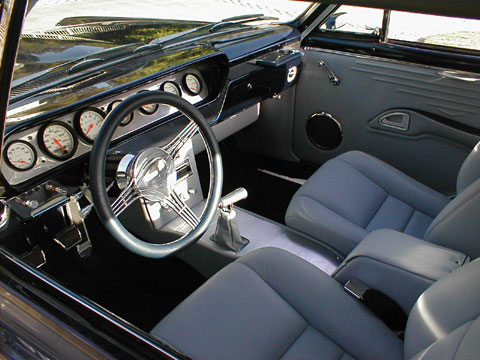
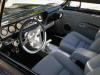
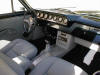
Interior feels like it was always in the car |
|
|
|
New steering wheel |
|
|
|
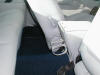
Note shoulder belts coming from rear arm rests |
|
|
|
Console fits well |
|
|
|
|
|
Cup holders for two |
|
|
|
Fold away cup holders and an A/C vent |
|
|

|
|
Passenger door |
|
|
|
|
|
|
|
|

|
|
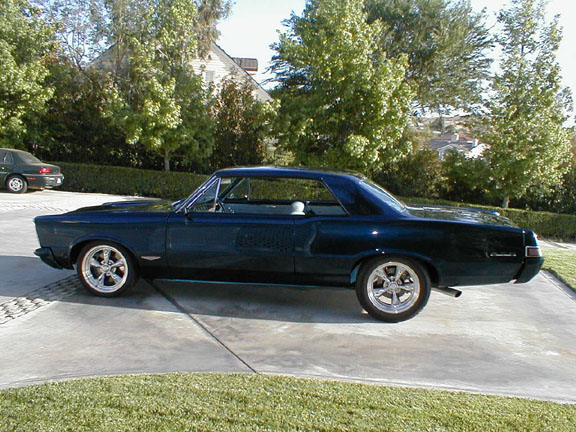
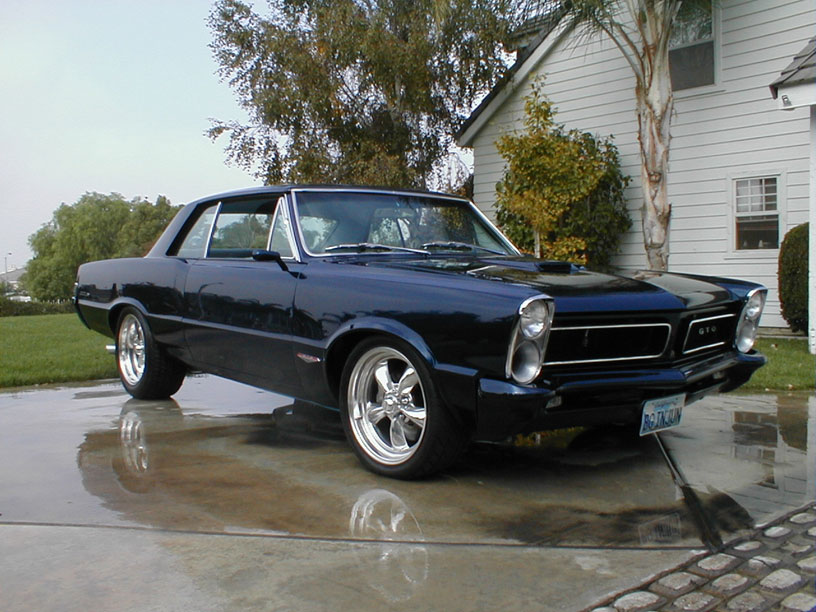
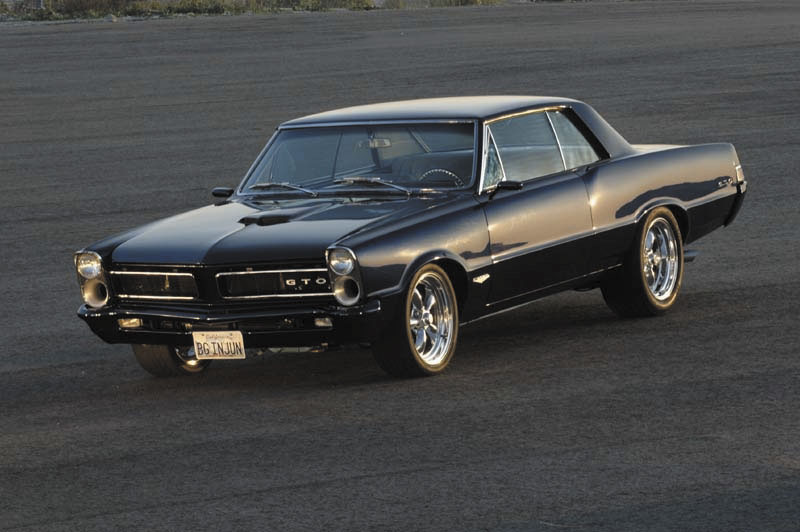
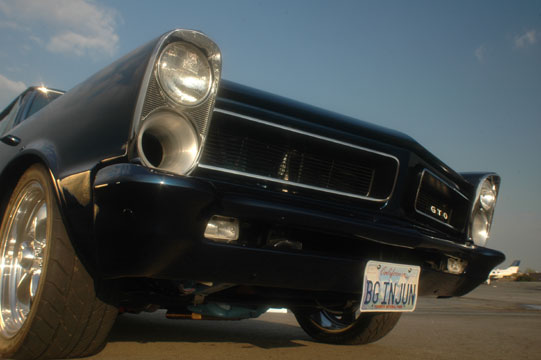
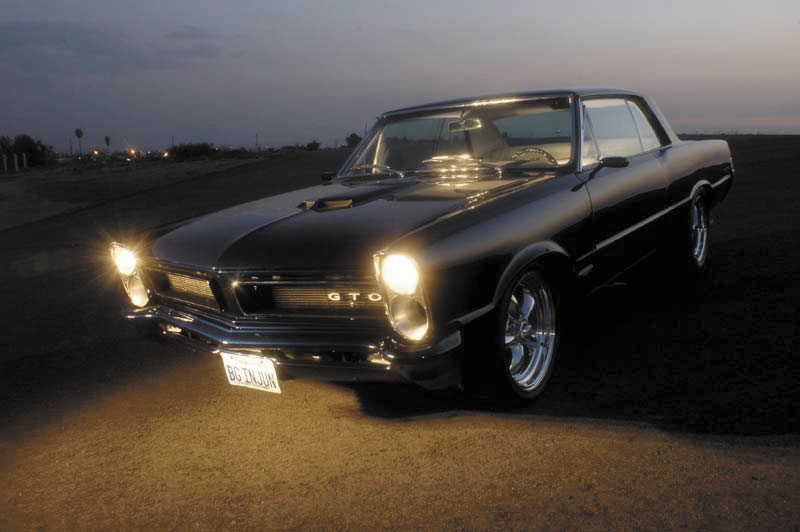
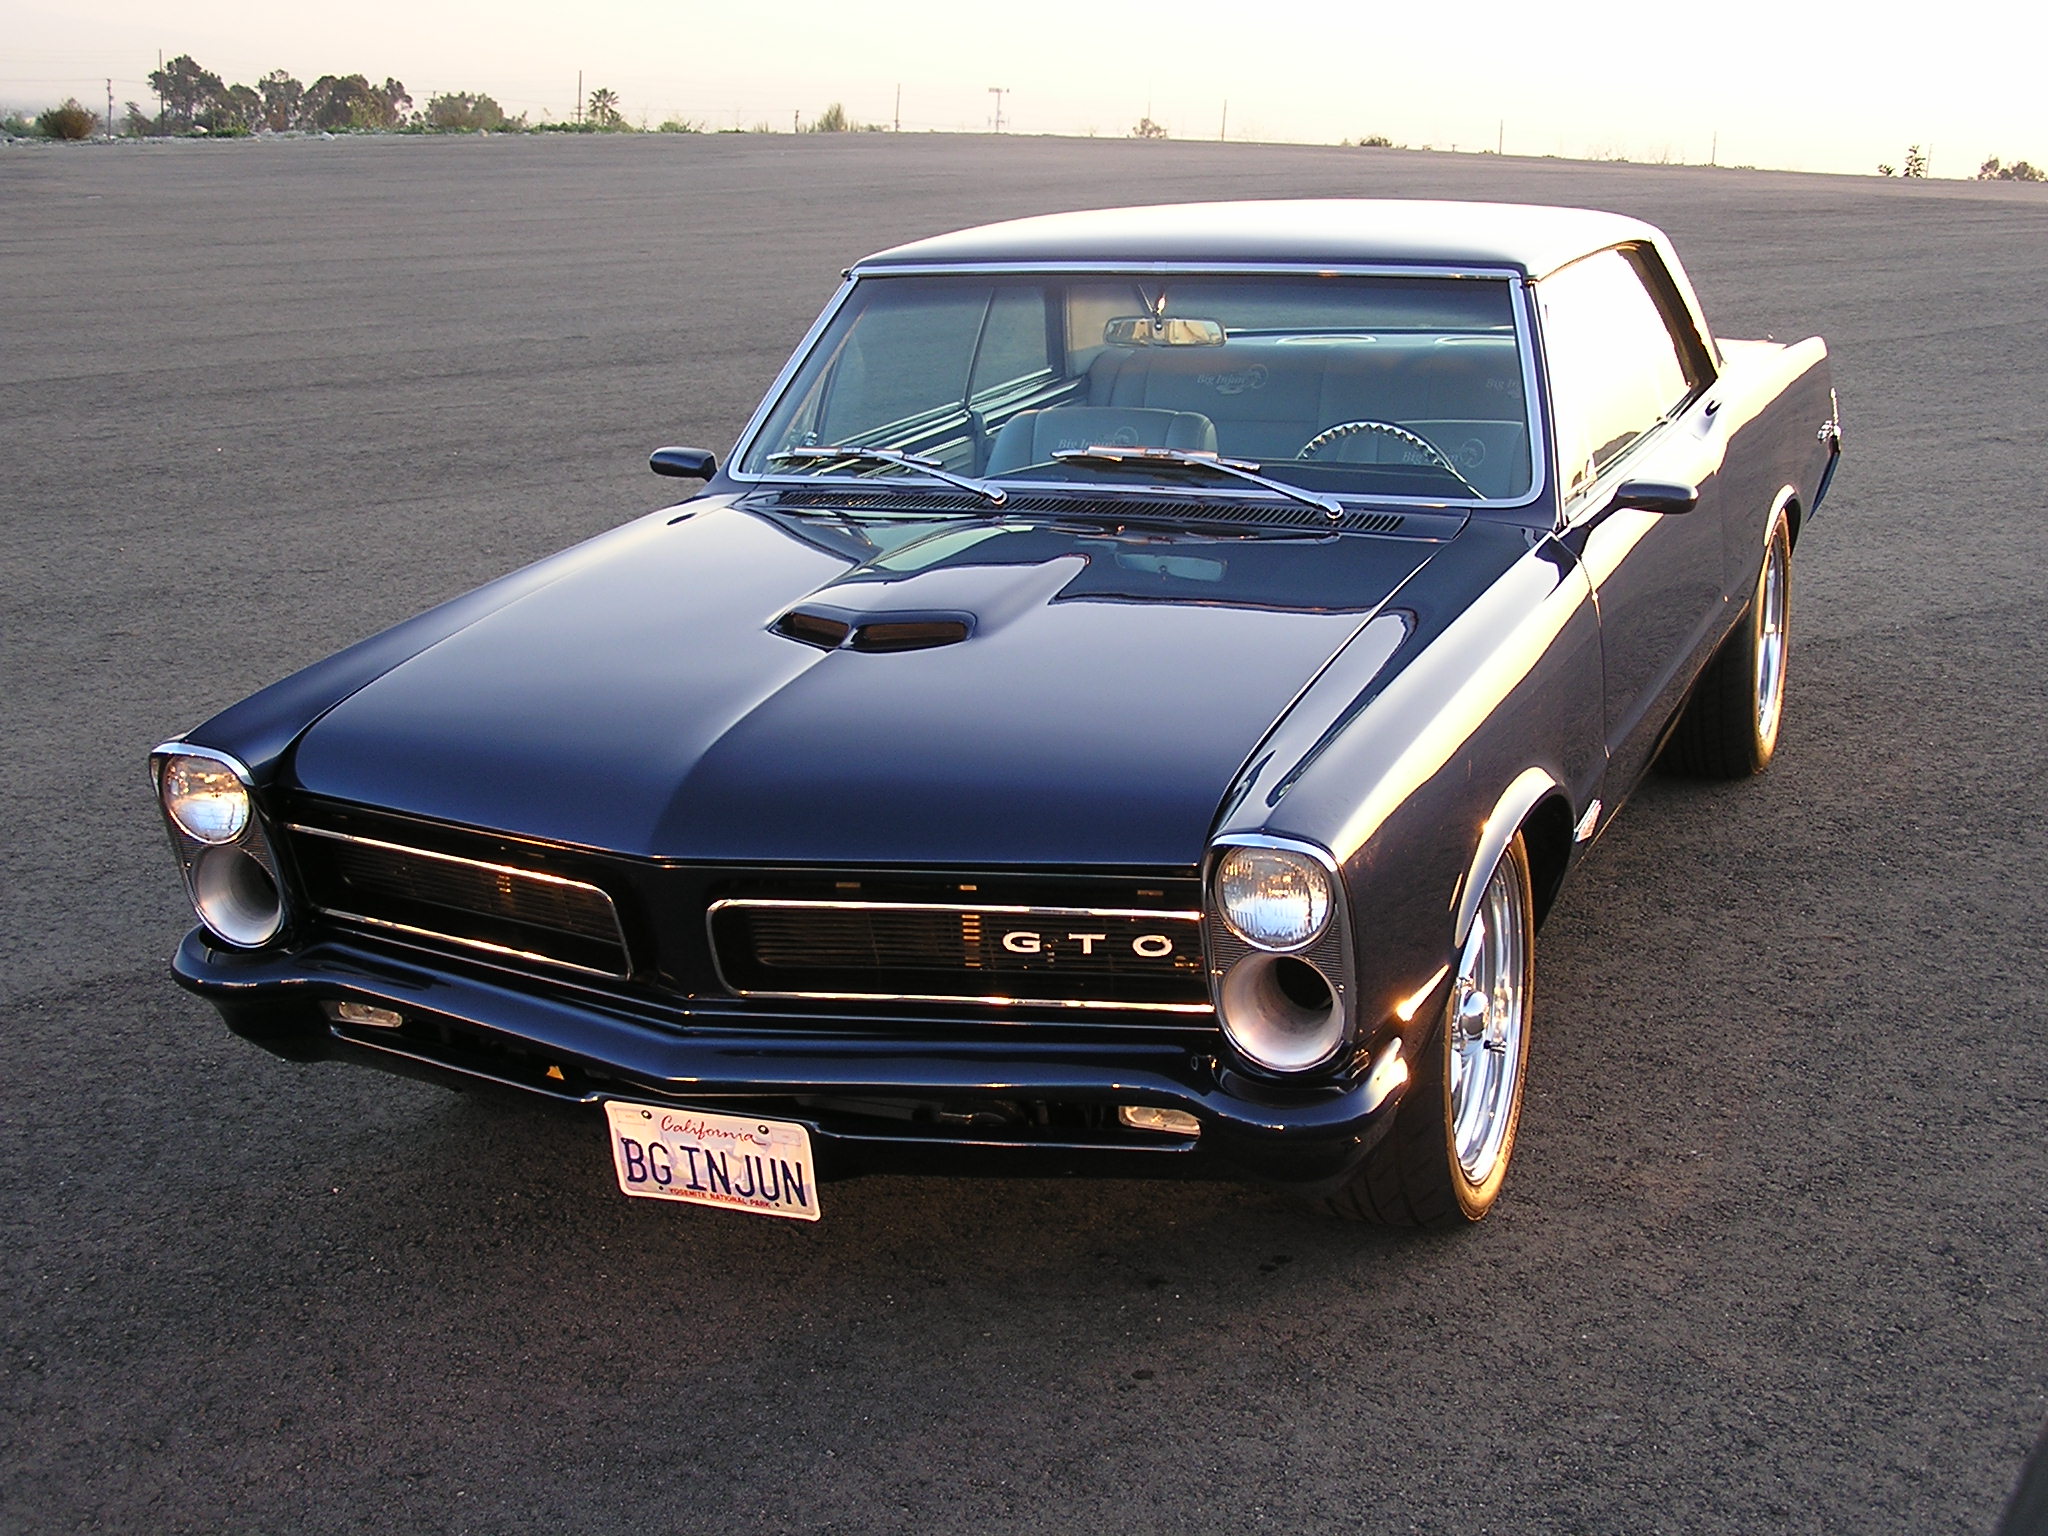
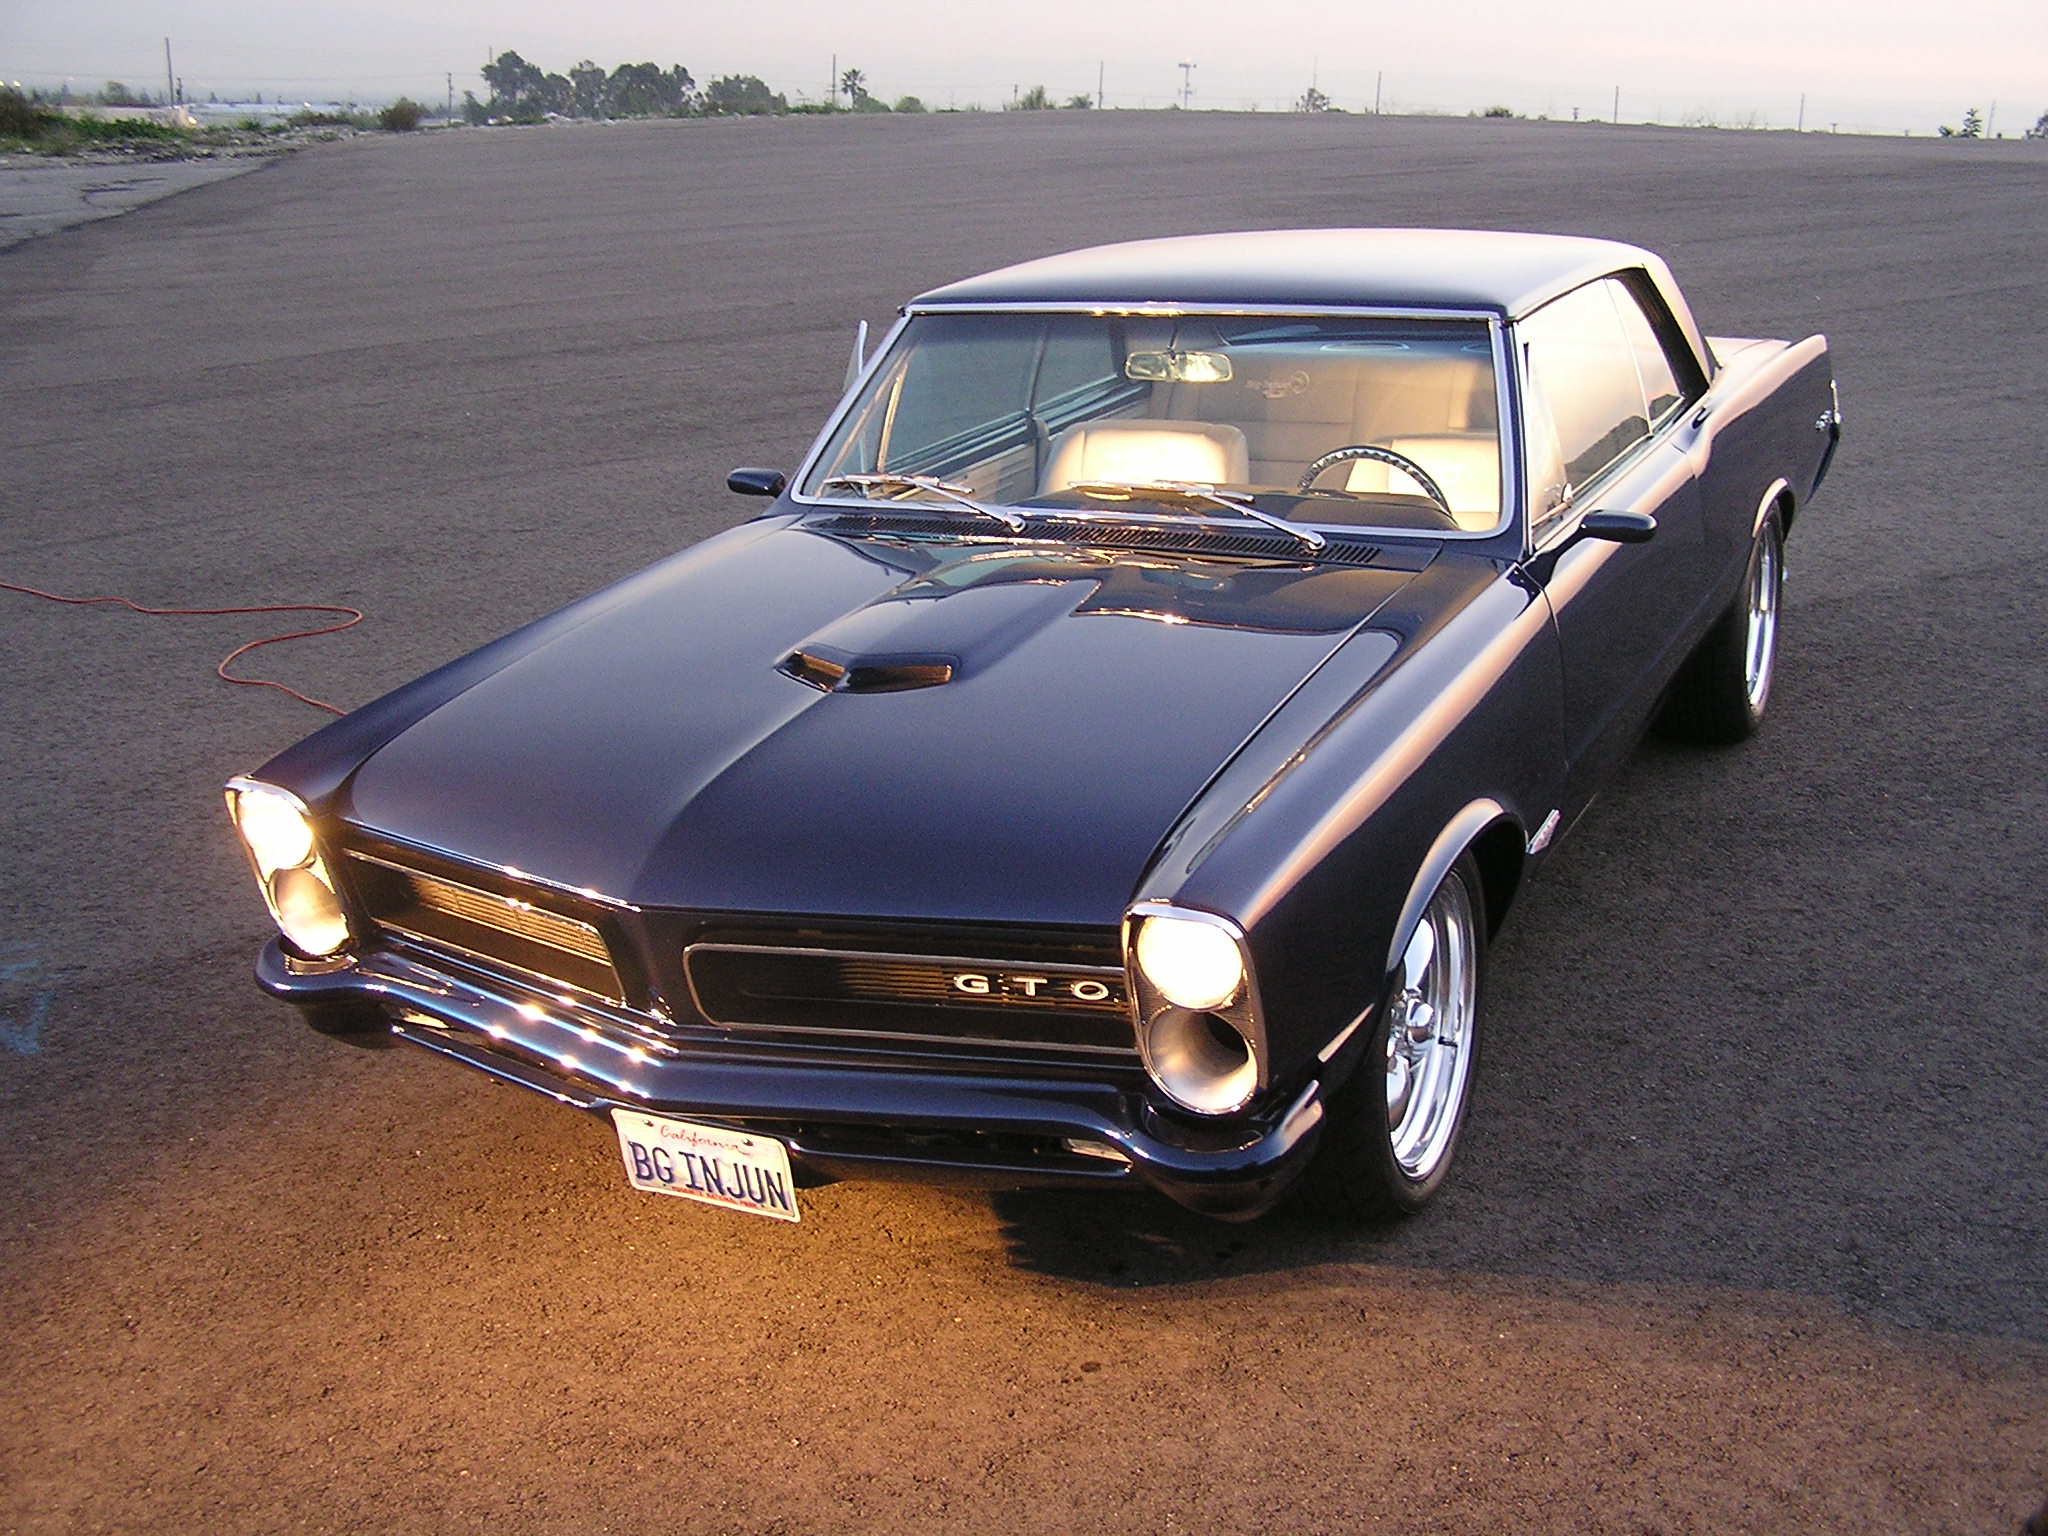
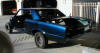
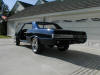
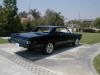
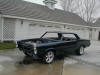
Front |
|
|
|
|
|
|
|
|
|
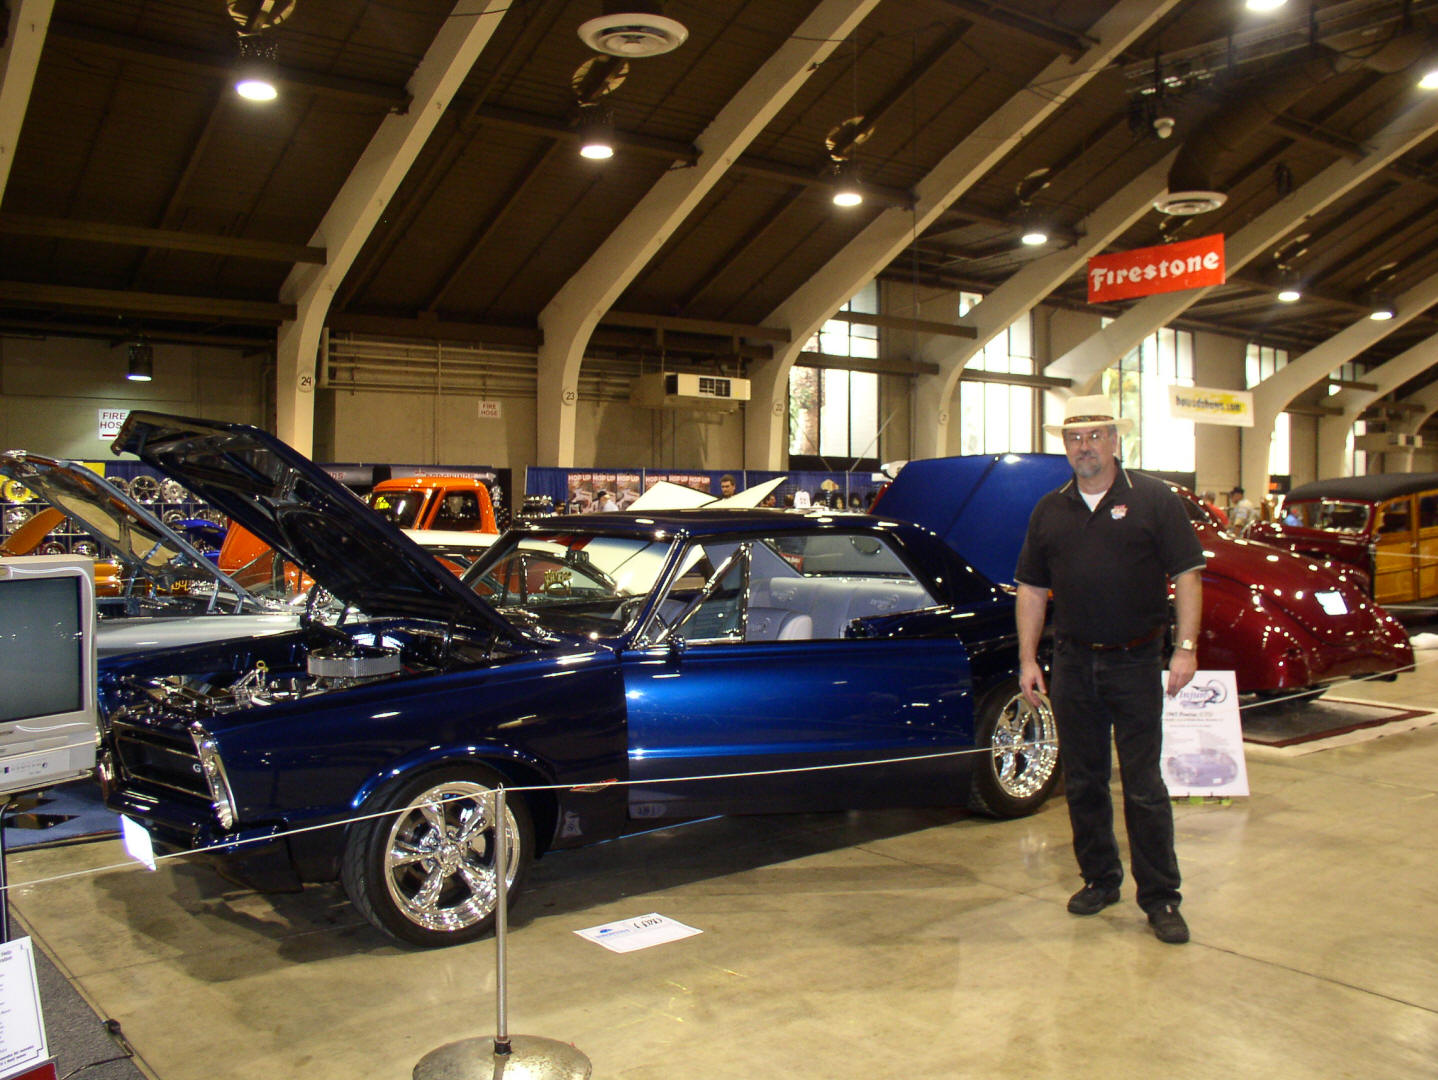
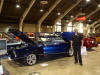
At Grand National Roadster Show
|
|
|
|
|
|
|
|
|
|
|
|
|
|
|